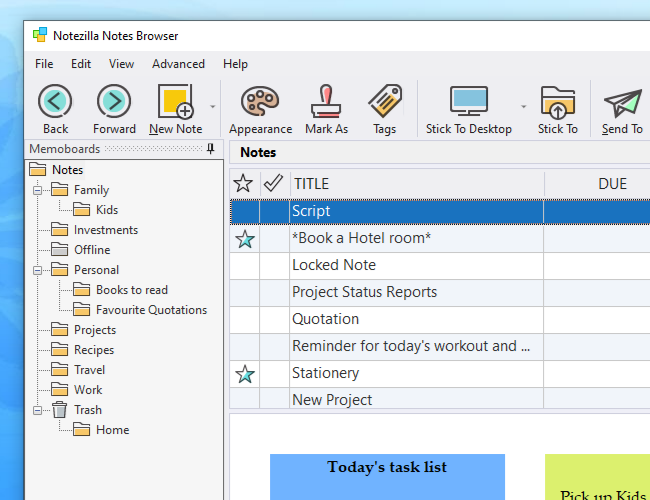
The new version of the sticky notes app for Windows – Notezilla 9 adds support for dark mode. New version will be launched by end of this month. Here is how it looks:

From the picture:
- Notezilla Notes Browser allows you to organize sticky notes inside folders called memoboards.
- The new version Notezilla 9 has dark mode support.
- Home memoboard is renamed to “Notes”.
What is Notezilla?
Notezilla is a professional, elegant & highly rated sticky notes app for Windows & Phones (Android, iOS, iPhone, iPad etc). You can also access your sticky notes from a Mac.
Notezilla helps you organize various tiny bits of information you would need through out your life. It keeps all your notes, tasks & reminders handy where ever you are. With sticky notes, you hardly have to put effort to take notes, set reminders, etc. Quickly jot down & move on with your task at hand.
Here are some features of Notezilla:
- Sticky notes with reminders
- Attach sticky notes to websites, documents, folders & apps
- Organize sticky notes inside folders to keep your Windows desktop clean.
- Pin sticky notes on top of other apps
- Sync sticky notes between Windows, Android, iPhone, iPad
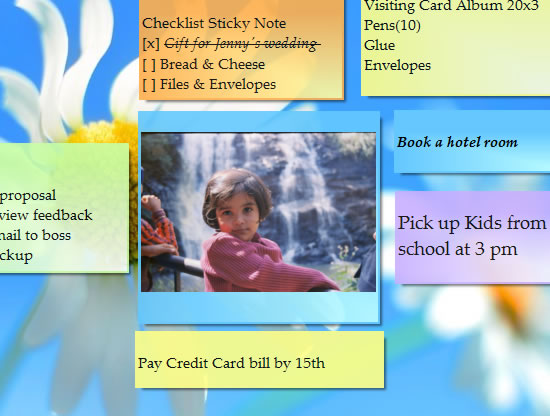
- Add pictures inside sticky notes
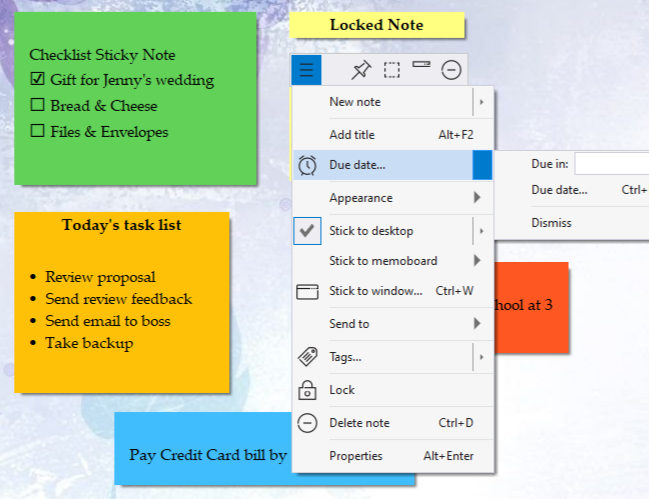
- Checklist sticky notes
- Lock sticky notes (password protect)
- Markdown support
- Send notes over local network (LAN) or across the globe
- Tag sticky notes
- Fully transparent sticky notes
- Dark mode
Do add your feedback below regarding the new version. Visit Notezilla product page.