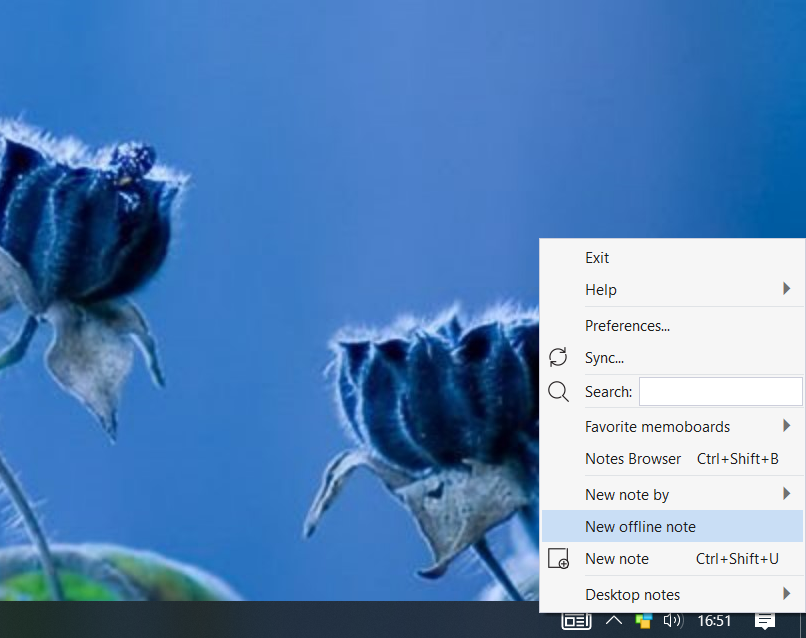
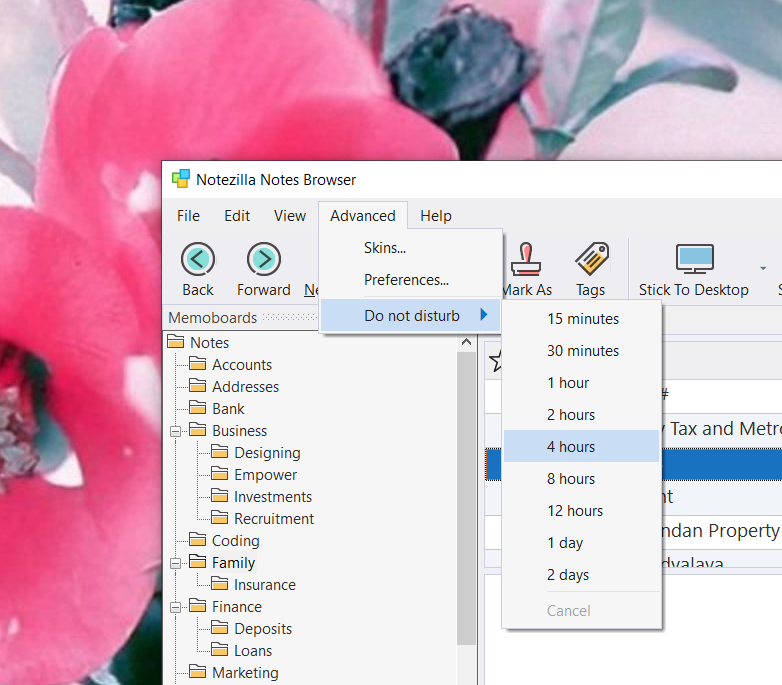
In Notezilla 9 (the Windows version of our sticky notes app) you can temporarily disable the reminder pop up messages using the “Do not disturb” feature. The reminders that you set on sticky notes will not show up for the duration you set.
This feature is useful especially when you are in a meeting or presenting something from your PC/laptop.
Explore other Notezilla features. Do leave your feedback in the below comments section. It will help us to improve the product. Thanks.
What is Notezilla?
Notezilla is a professional, elegant & highly rated sticky notes app for Windows & Phones (Android, iOS, iPhone, iPad etc). You can also access your sticky notes from a Mac.
Notezilla helps you organize various tiny bits of information you would need through out your life. It keeps all your notes, tasks & reminders handy where ever you are. With sticky notes, you hardly have to put effort to take notes, set reminders, etc. Quickly jot down & move on with your task at hand.
Here are some features of Notezilla:
- Sticky notes with reminders
- Attach sticky notes to websites, documents, folders & apps
- Organize sticky notes inside folders to keep your Windows desktop clean.
- Pin sticky notes on top of other apps
- Sync sticky notes between Windows, Android, iPhone, iPad
- Add pictures inside sticky notes
- Checklist sticky notes
- Lock sticky notes (password protect)
- Markdown support
- Send notes over local network (LAN) or across the globe
- Tag sticky notes
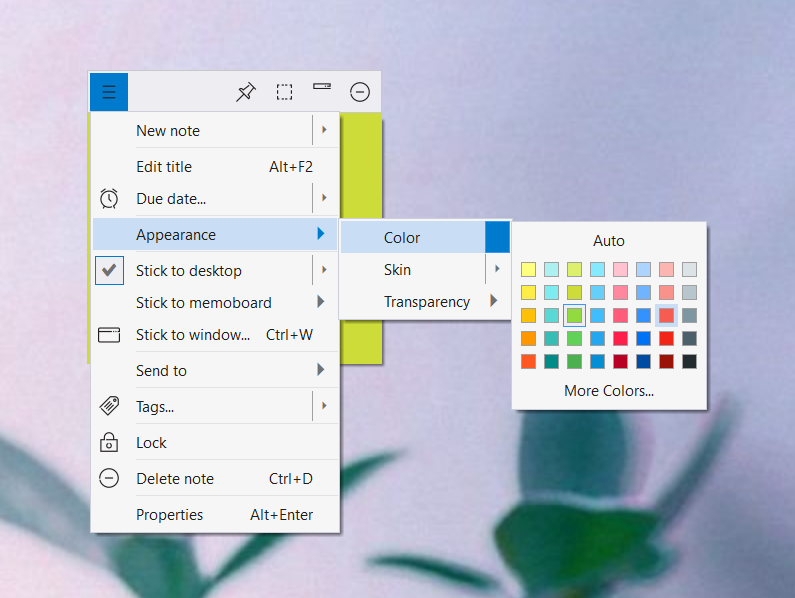
- Fully transparent sticky notes
- Dark mode