Sometimes, there are situations where you want to copy two folders with the same name but have different content. Another case is when you want to share the complete file structure from the root drive so that it can be replicated in the destination folder, exactly like the source.
Copywhiz will help you create a full directory structure right from level 1 although you might be copying a folder at level 5.
What is Copywhiz?
Copywhiz enhances your file-copy experience by letting you to have more flexibility & control over the file copying and backup process.
Here is how Copywhiz makes file copying a breeze:
- Copy only new or modified files
- Easily pick files by name, extension, folder etc from bunch of folders
- Automatically organize files based on file attributes and metadata
- Copy files to multiple folders/computers
- Copy files from multiple folders and paste them at once
- Sync files between source and destination
- Pick files from multiple folders and compress in single .zip file
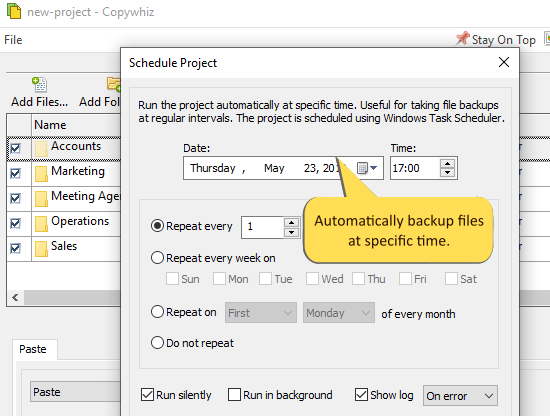
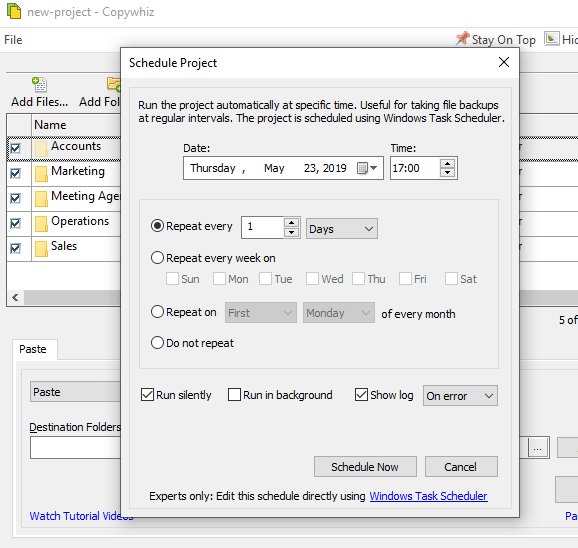
- Schedule file backups
- Verify copied files for data integrity
- Retain security attributes of files & folders (ownership/user access)
- Several more hidden nuggets designed to make your file-copy task easier.
Using Copywhiz
Watch a small video showing this feature:
Video Transcription
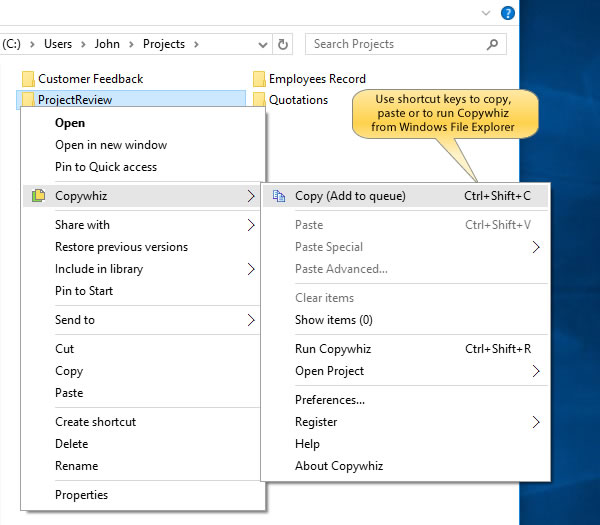
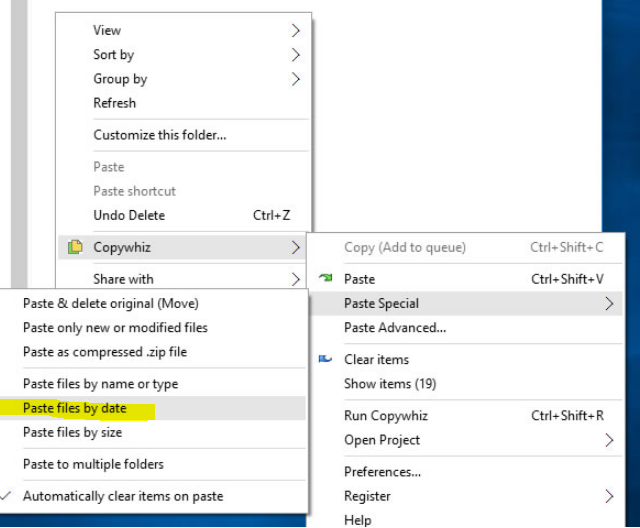
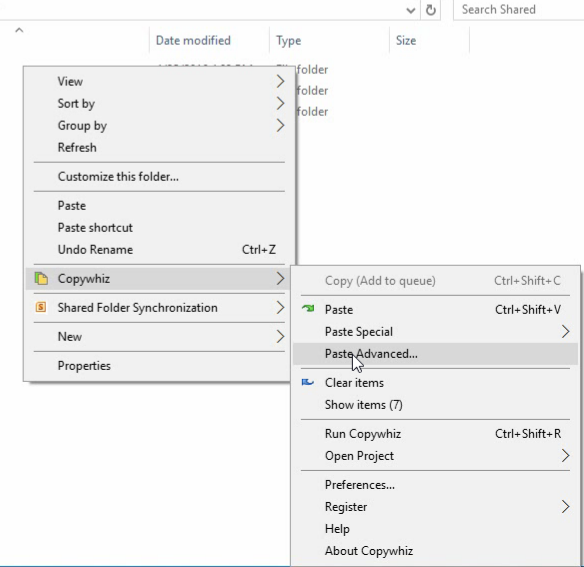
1. Right-click on the folders from which files need to be copied and choose Copywhiz–>Copy from the menu as shown below:

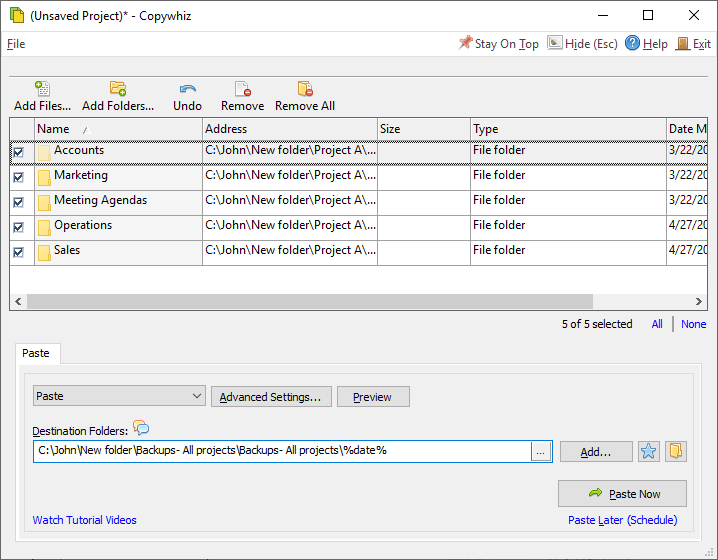
2. Go to the destination folder, right-click on it and select Copywhiz–>Paste Advanced.
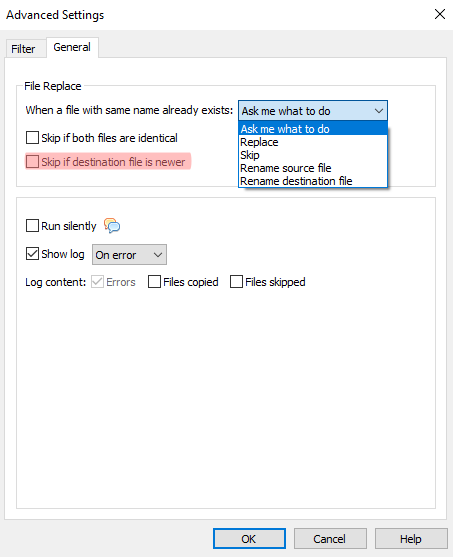
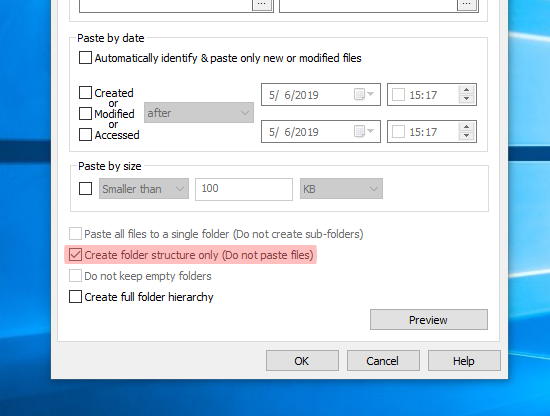
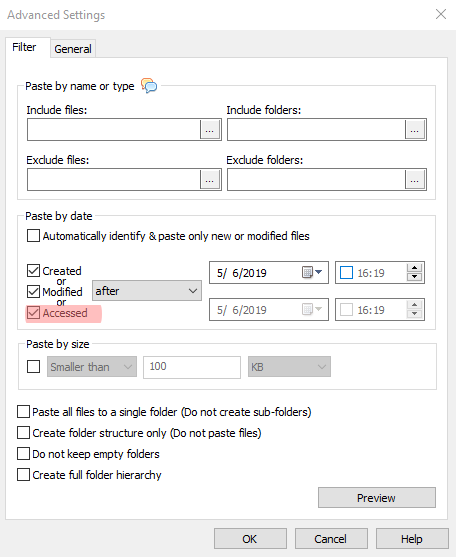
3. Click the “Advanced Settings” option. The advanced settings dialog box will open. Select “Create full folder hierarchy”.
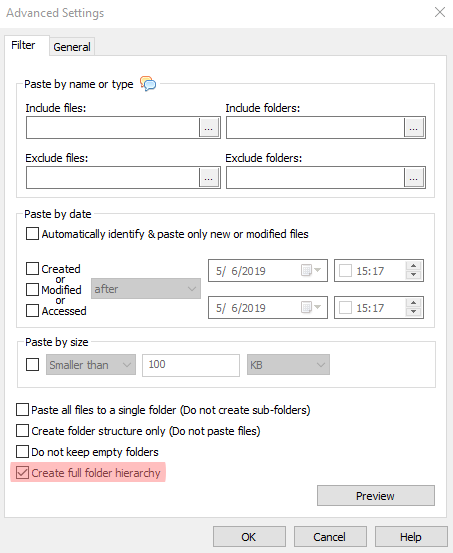
4. Click on ‘OK’ and ‘Paste Now’. You can even schedule it for later by clicking on “Paste later (Schedule)” option.
Conclusion
This is how Copywhiz keeps those files separate so that you can copy files faster, easier and safer. This feature is very useful when sharing files or creating copies(backups).
Subscribe to our YouTube channel for interesting videos.
Learn more about Copywhiz. Download the free trial from here.
Have a good day!
Thanks for reading till the end :)