We like to have a preview of our documents and images before sharing or printing them or even saving the edits made. Then why not have a preview of the list of files that will be copied on your system?
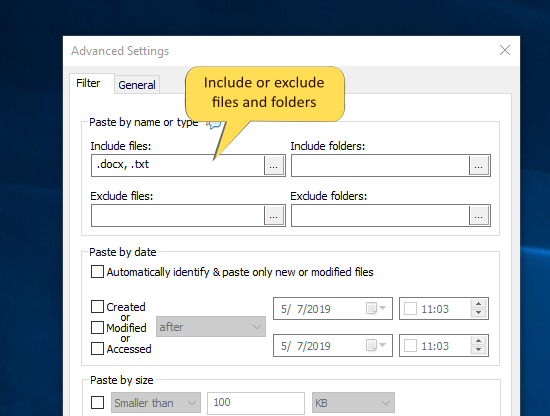
You could easily exclude or include certain files forgotten or those not required. This not only saves your time and efforts but also a lot of space on your system. You can also filter them according to their date, size, etc.
This post will tell you how to preview the list of files that will be copied, before actually copying them.
In this article we will show you how this is possible using the Windows Robocopy tool and an alternative software Copywhiz, which does the same thing in a much user friendly manner.
What is Copywhiz?
Copywhiz enhances your file-copy experience by letting you to have more flexibility & control over the file copying and backup process.
Here is how Copywhiz makes file copying a breeze:
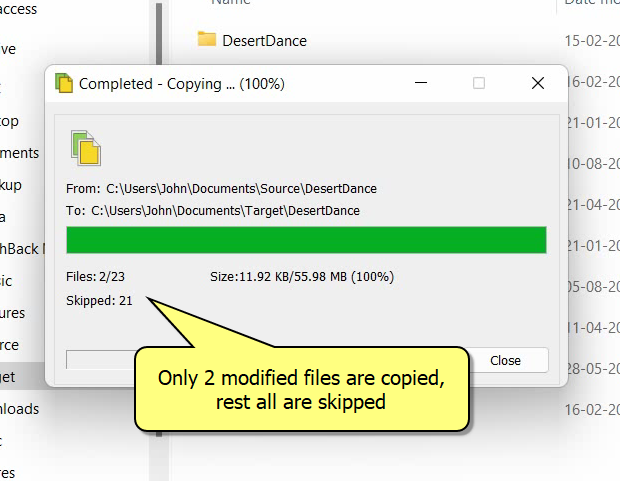
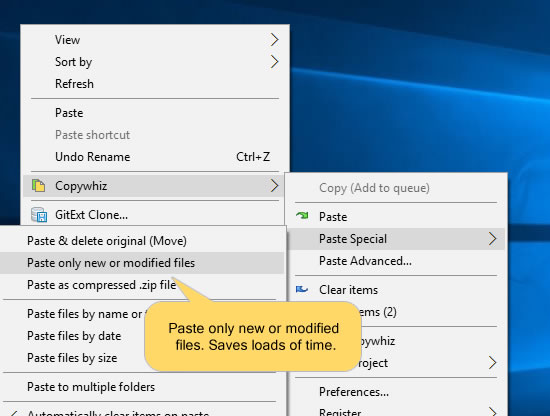
- Copy only new or modified files
- Easily pick files by name, extension, folder etc from bunch of folders
- Automatically organize files based on file attributes and metadata
- Copy files to multiple folders/computers
- Copy files from multiple folders and paste them at once
- Sync files between source and destination
- Pick files from multiple folders and compress in single .zip file
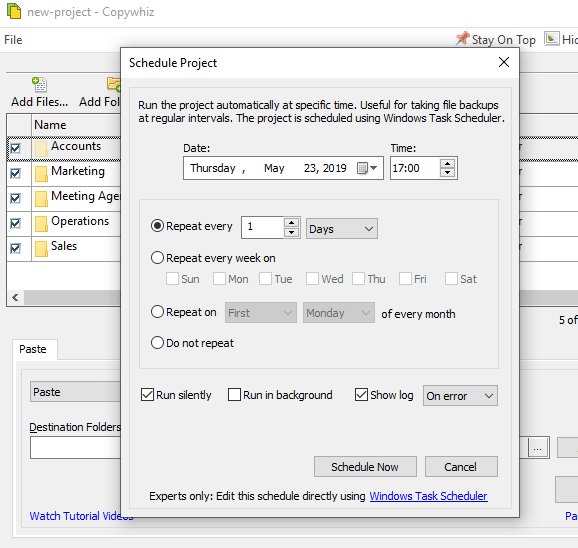
- Schedule file backups
- Verify copied files for data integrity
- Retain security attributes of files & folders (ownership/user access)
- Several more hidden nuggets designed to make your file-copy task easier.
Steps to generate a file Preview
Using Robocopy
Robocopy Source [Destination] /L command displays a list of files that are to be copied.
For Ex: To display a list of files that are to be copied from the folder “projects” to “backup”, the following command line will be used:
Robocopy C:\projects d:\backup /L
You can do this using Xcopy commands too. Check out this article
However, these Robocopy commands are not straightforward. System administrators may be able to use it. But Robocopy may be quite confusing for ordinary users. Instead, let me show you a more comfortable and faster method.
Using Copywhiz
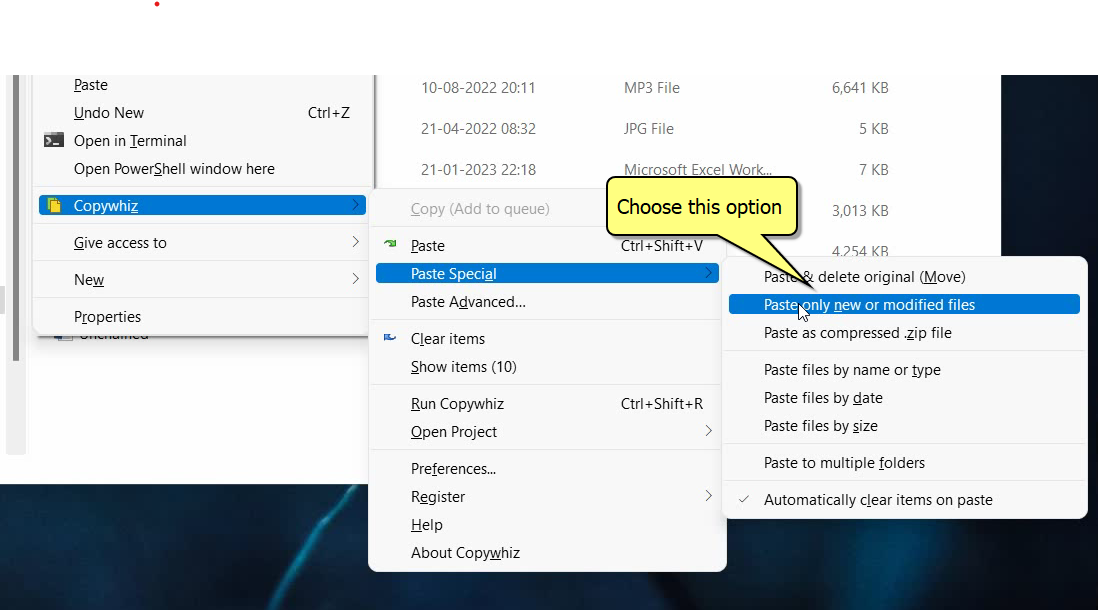
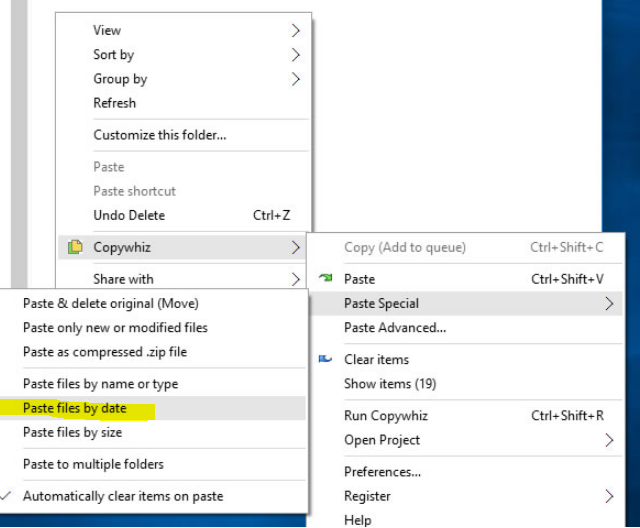
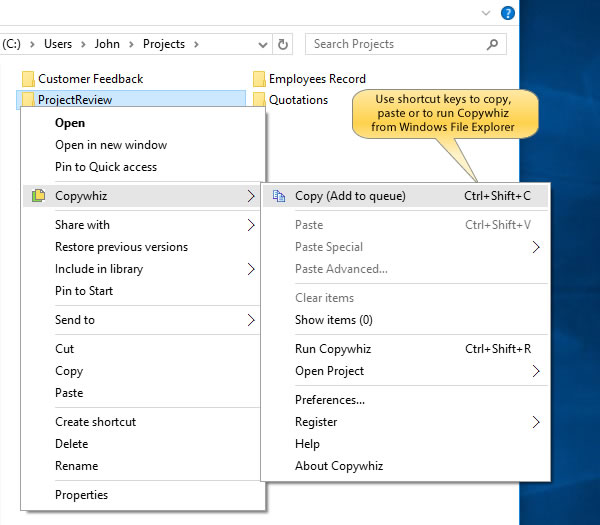
1. Select files using Windows Explorer, right-click on them and choose Copywhiz->Copy from the menu as shown below :
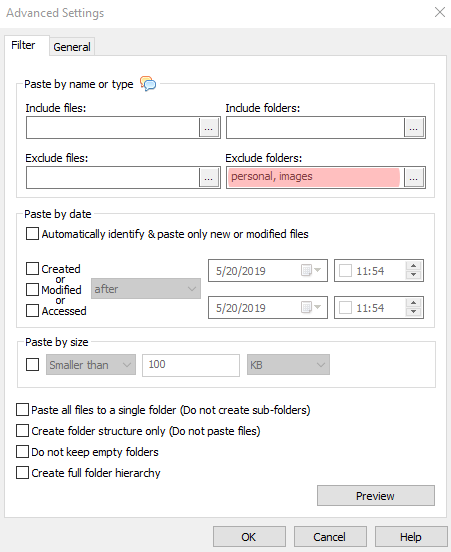
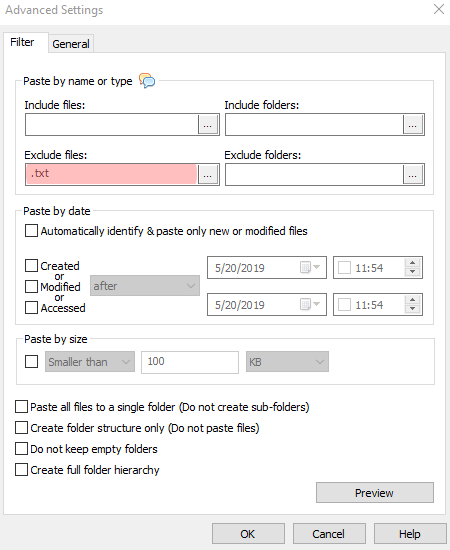
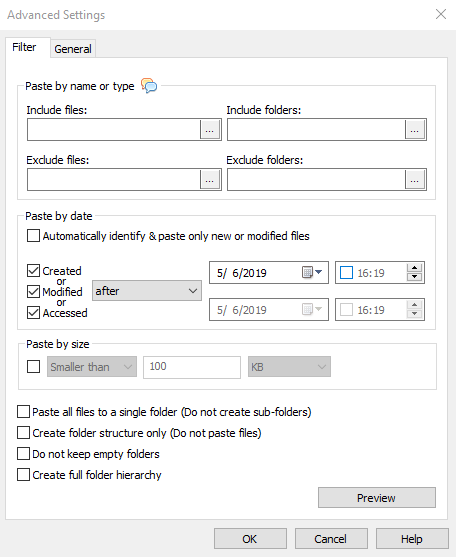
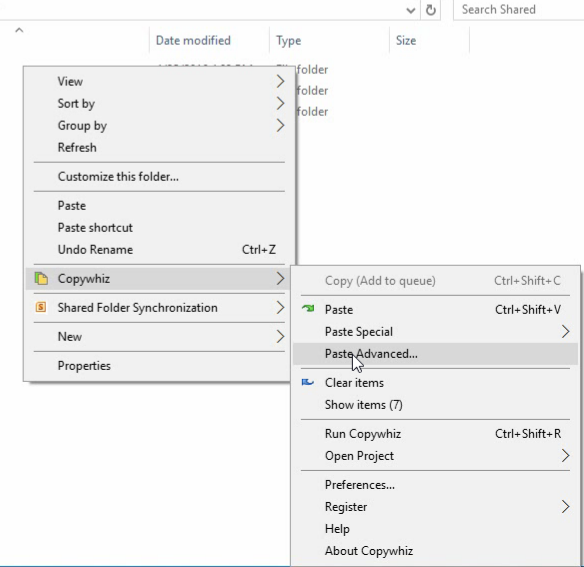
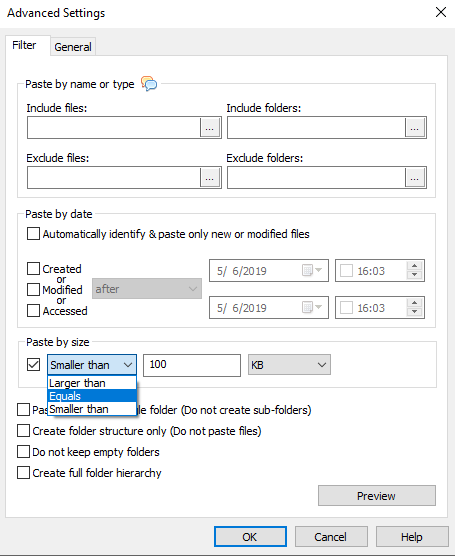
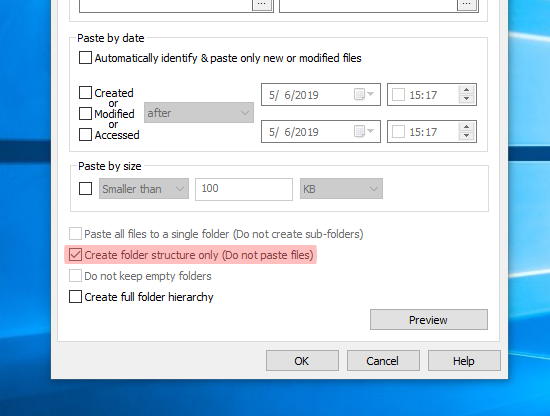
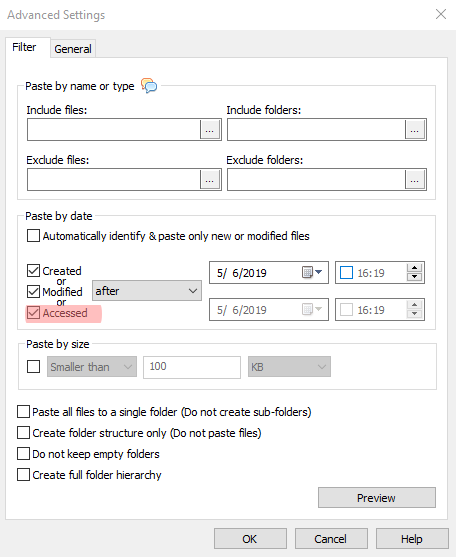
2. Go to the destination folder, right-click inside the folder and select Copywhiz–>Paste Advanced. The Advanced settings dialogue box will open.
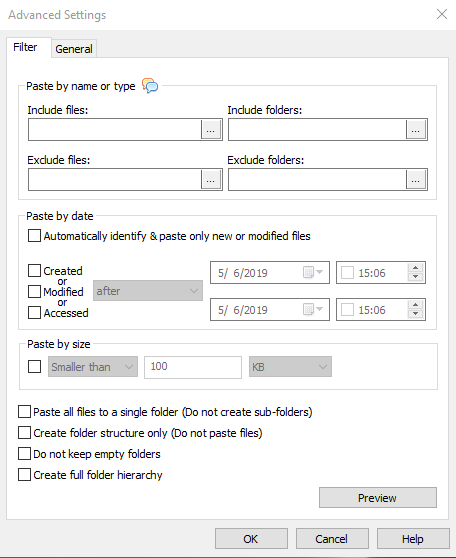
3. Click on the “Preview” button located below in the right corner. The Preview Window will open
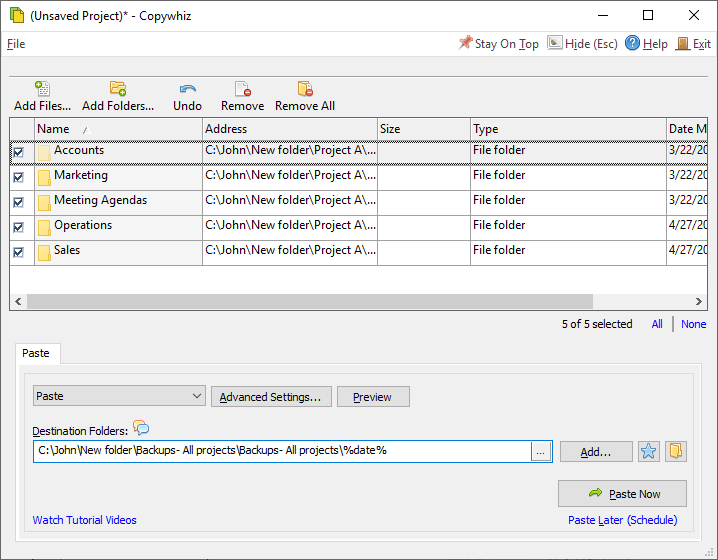
Here is how the Copywhiz Preview Window will look like:
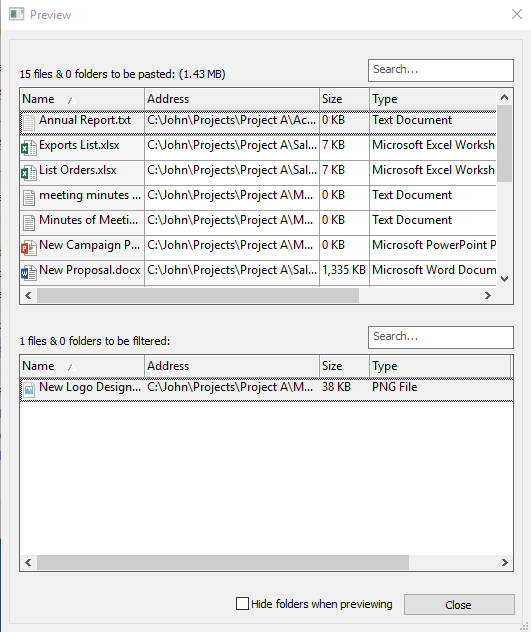
All the files you selected will be listed down before you proceed with your file copy.
Conclusion
Copywhiz is an alternative that allows you to preview files before copying them and ensure that the right files are copied. This avoids mistakes and any incorrect files from being copied to make sure only the important files are copied. You can also use this feature to view the list of new & modified files in a folder.
Thus you stay safe and confident.
The biggest advantage of using Copywhiz is that you can take automatic backups of your files and folders! Read more about it here.
For more tutorial videos, click here .
Subscribe to our YouTube channel for regular updates and interesting videos!
Learn more about Copywhiz.
Download the free trial from here.
Check out our other cool products.
Have a good day.
Thanks for staying till the end :)