We sometimes run certain programs frequently on a regular basis. Opening them again and again consumes a lot of time and efforts. This is why scheduling these apps to run automatically at specific intervals is a good idea.
But how? Not every app offers this option and even it did, how many apps can you take time and effort to go and configure. It would be good if you could use one single app to configure this.
There are many apps out there that let you do this. I tried the Task Scheduler which is inbuilt in our Windows PC and is free. But i soon gave it up and decided to use Notezilla sticky notes app for Windows.
Why? Let me show you the steps for both of these and you will understand.
What is Notezilla?
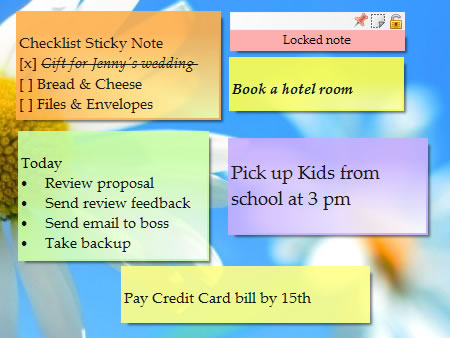
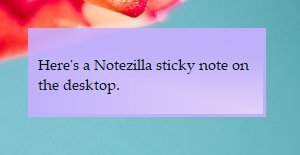
Notezilla is a professional, elegant & highly rated sticky notes app for Windows & Phones (Android, iOS, iPhone, iPad etc). You can also access your sticky notes from a Mac.
Notezilla helps you organize various tiny bits of information you would need through out your life. It keeps all your notes, tasks & reminders handy where ever you are. With sticky notes, you hardly have to put effort to take notes, set reminders, etc. Quickly jot down & move on with your task at hand.
Here are some features of Notezilla:
- Sticky notes with reminders
- Attach sticky notes to websites, documents, folders & apps
- Organize sticky notes inside folders to keep your Windows desktop clean.
- Pin sticky notes on top of other apps
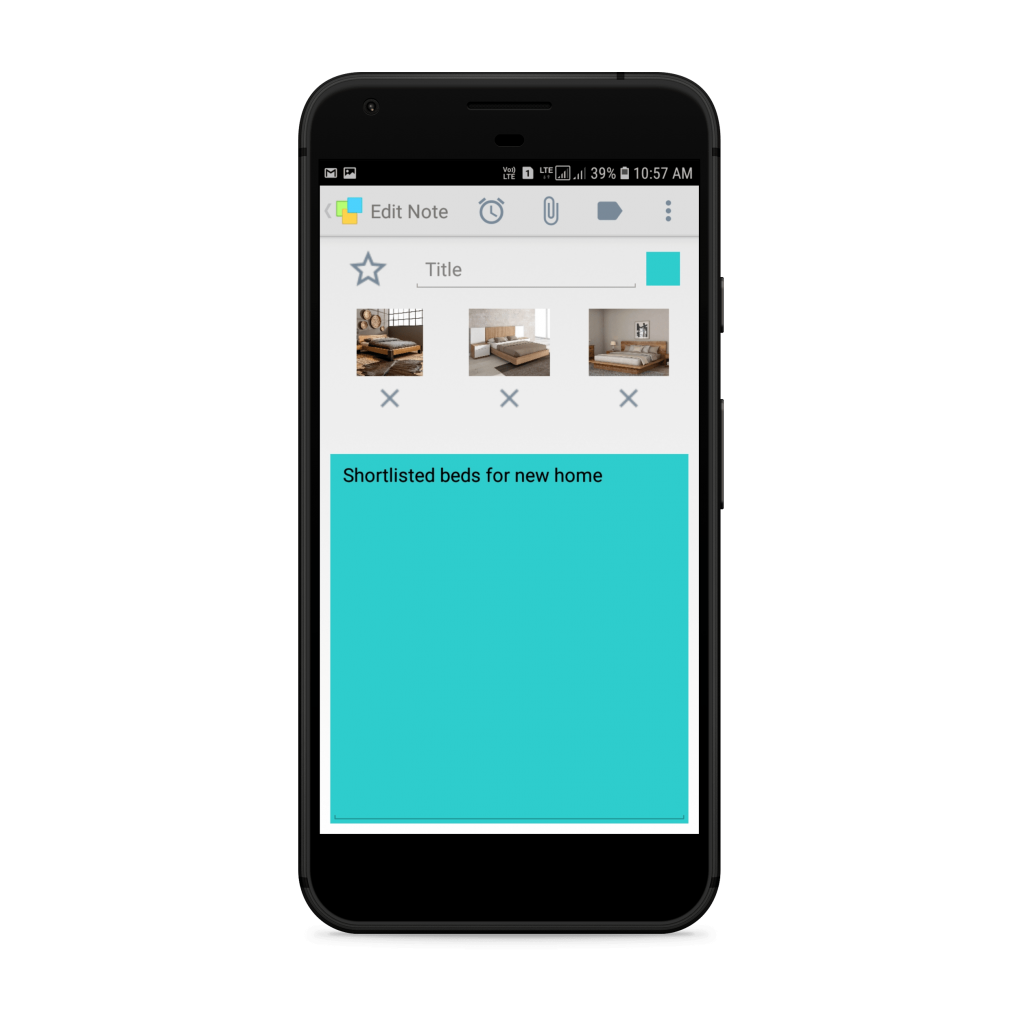
- Sync sticky notes between Windows, Android, iPhone, iPad
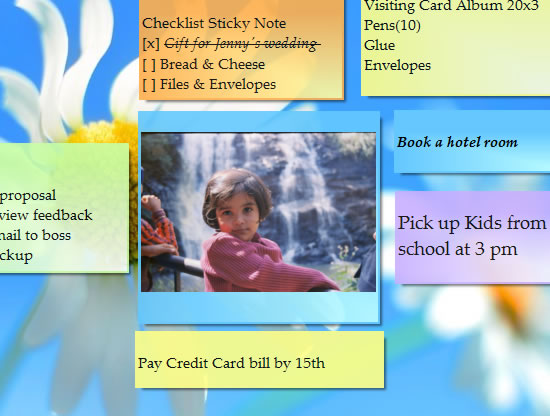
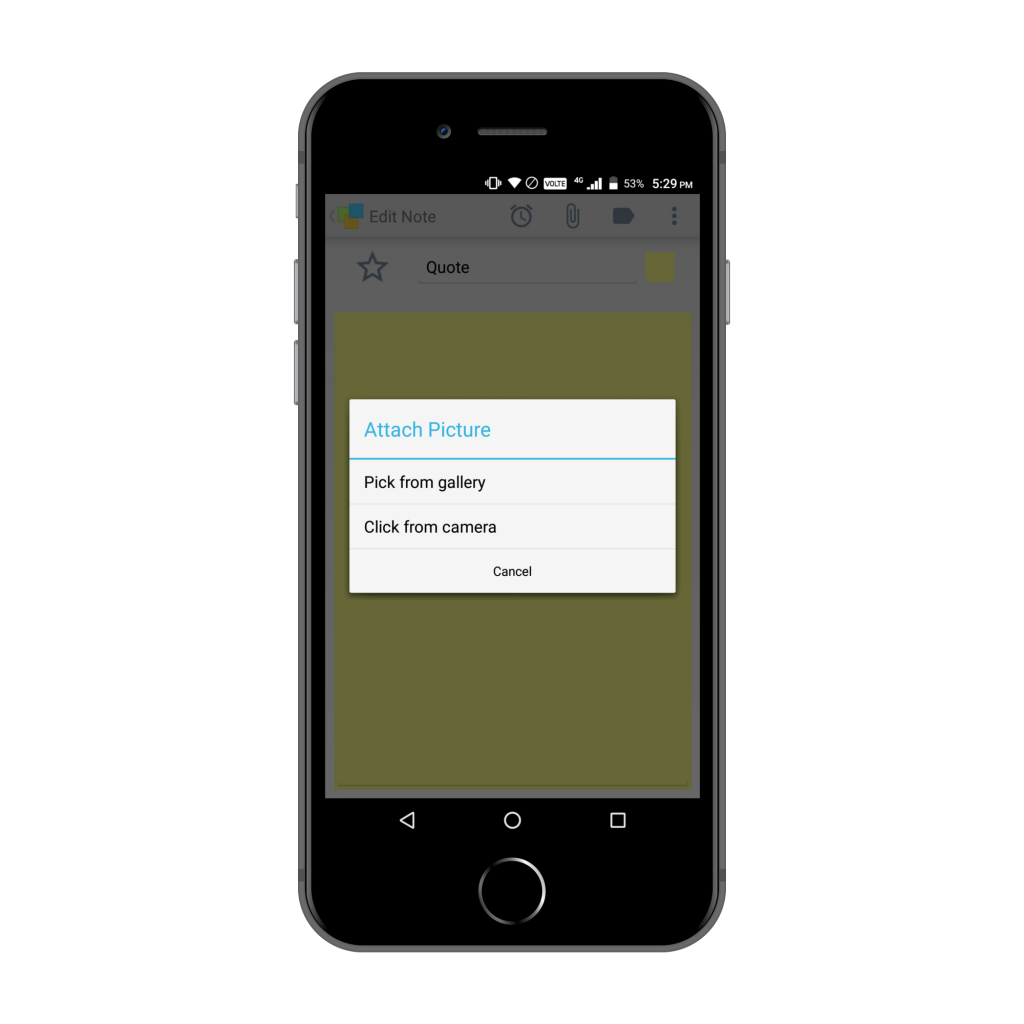
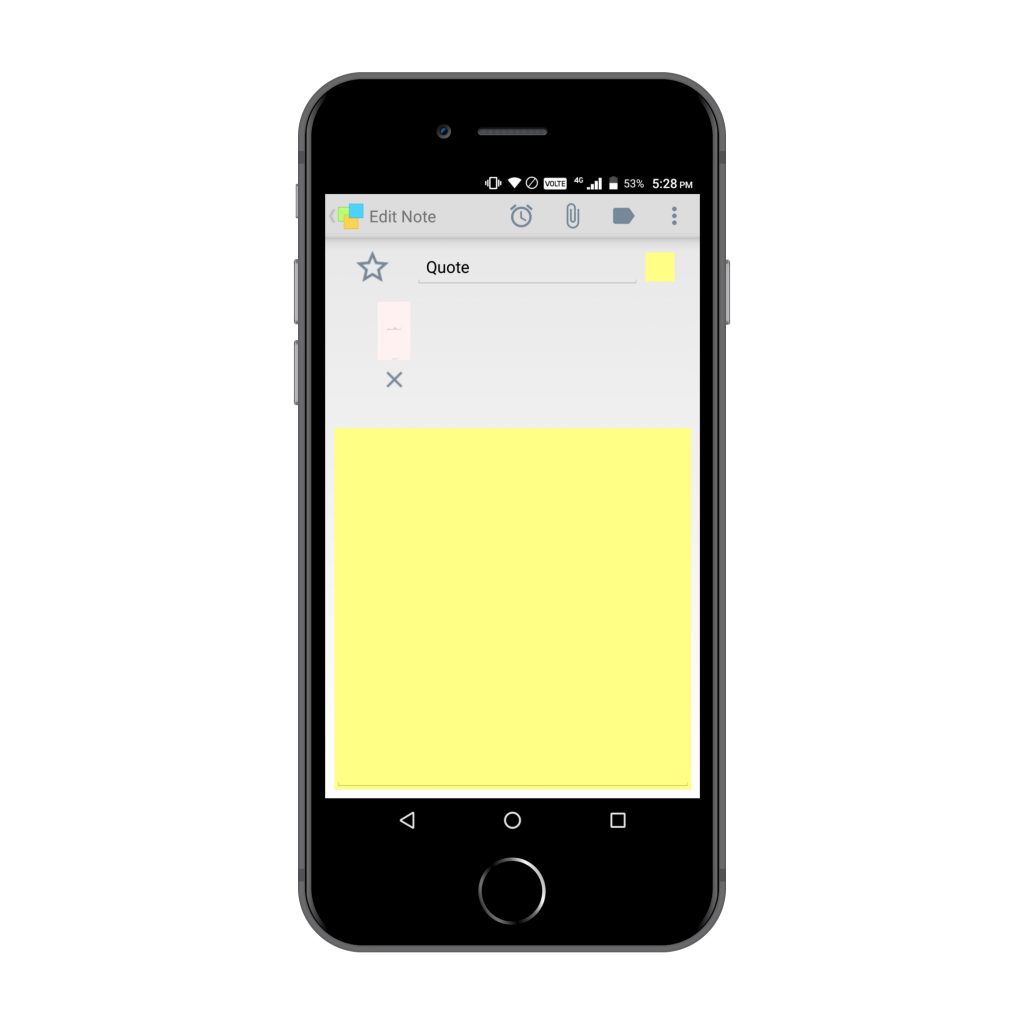
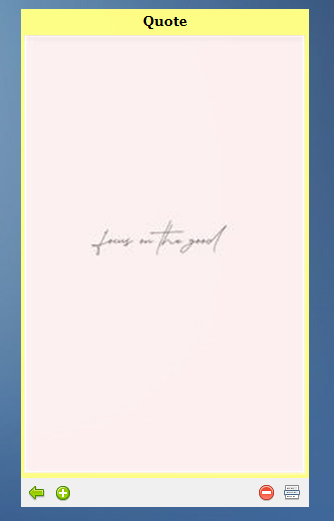
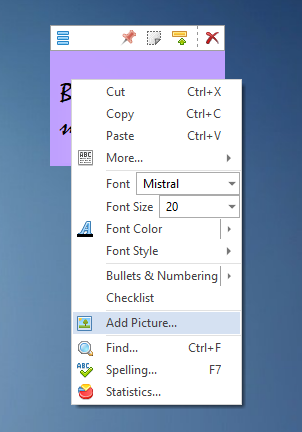
- Add pictures inside sticky notes
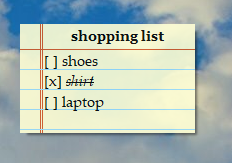
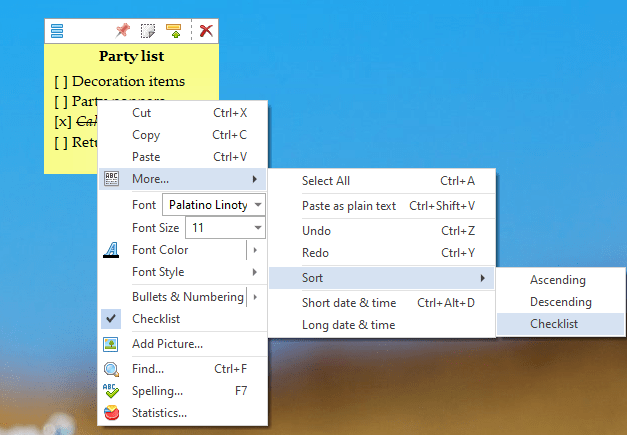
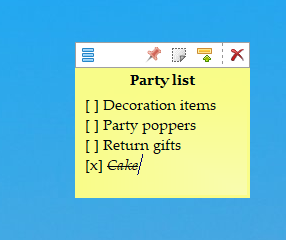
- Checklist sticky notes
- Lock sticky notes (password protect)
- Markdown support
- Send notes over local network (LAN) or across the globe
- Tag sticky notes
- Fully transparent sticky notes
- Dark mode
Running apps automatically at specific intervals using Notezilla
There is no exclusive option in Notezilla to do this but you can quickly configure it using the reminder feature of Notezilla sticky notes.
Following are the steps to follow:
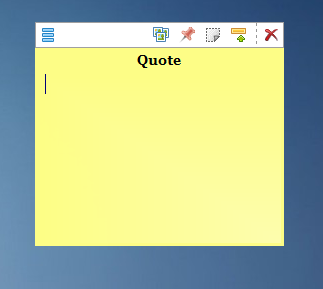
- Create a Notezilla sticky note.
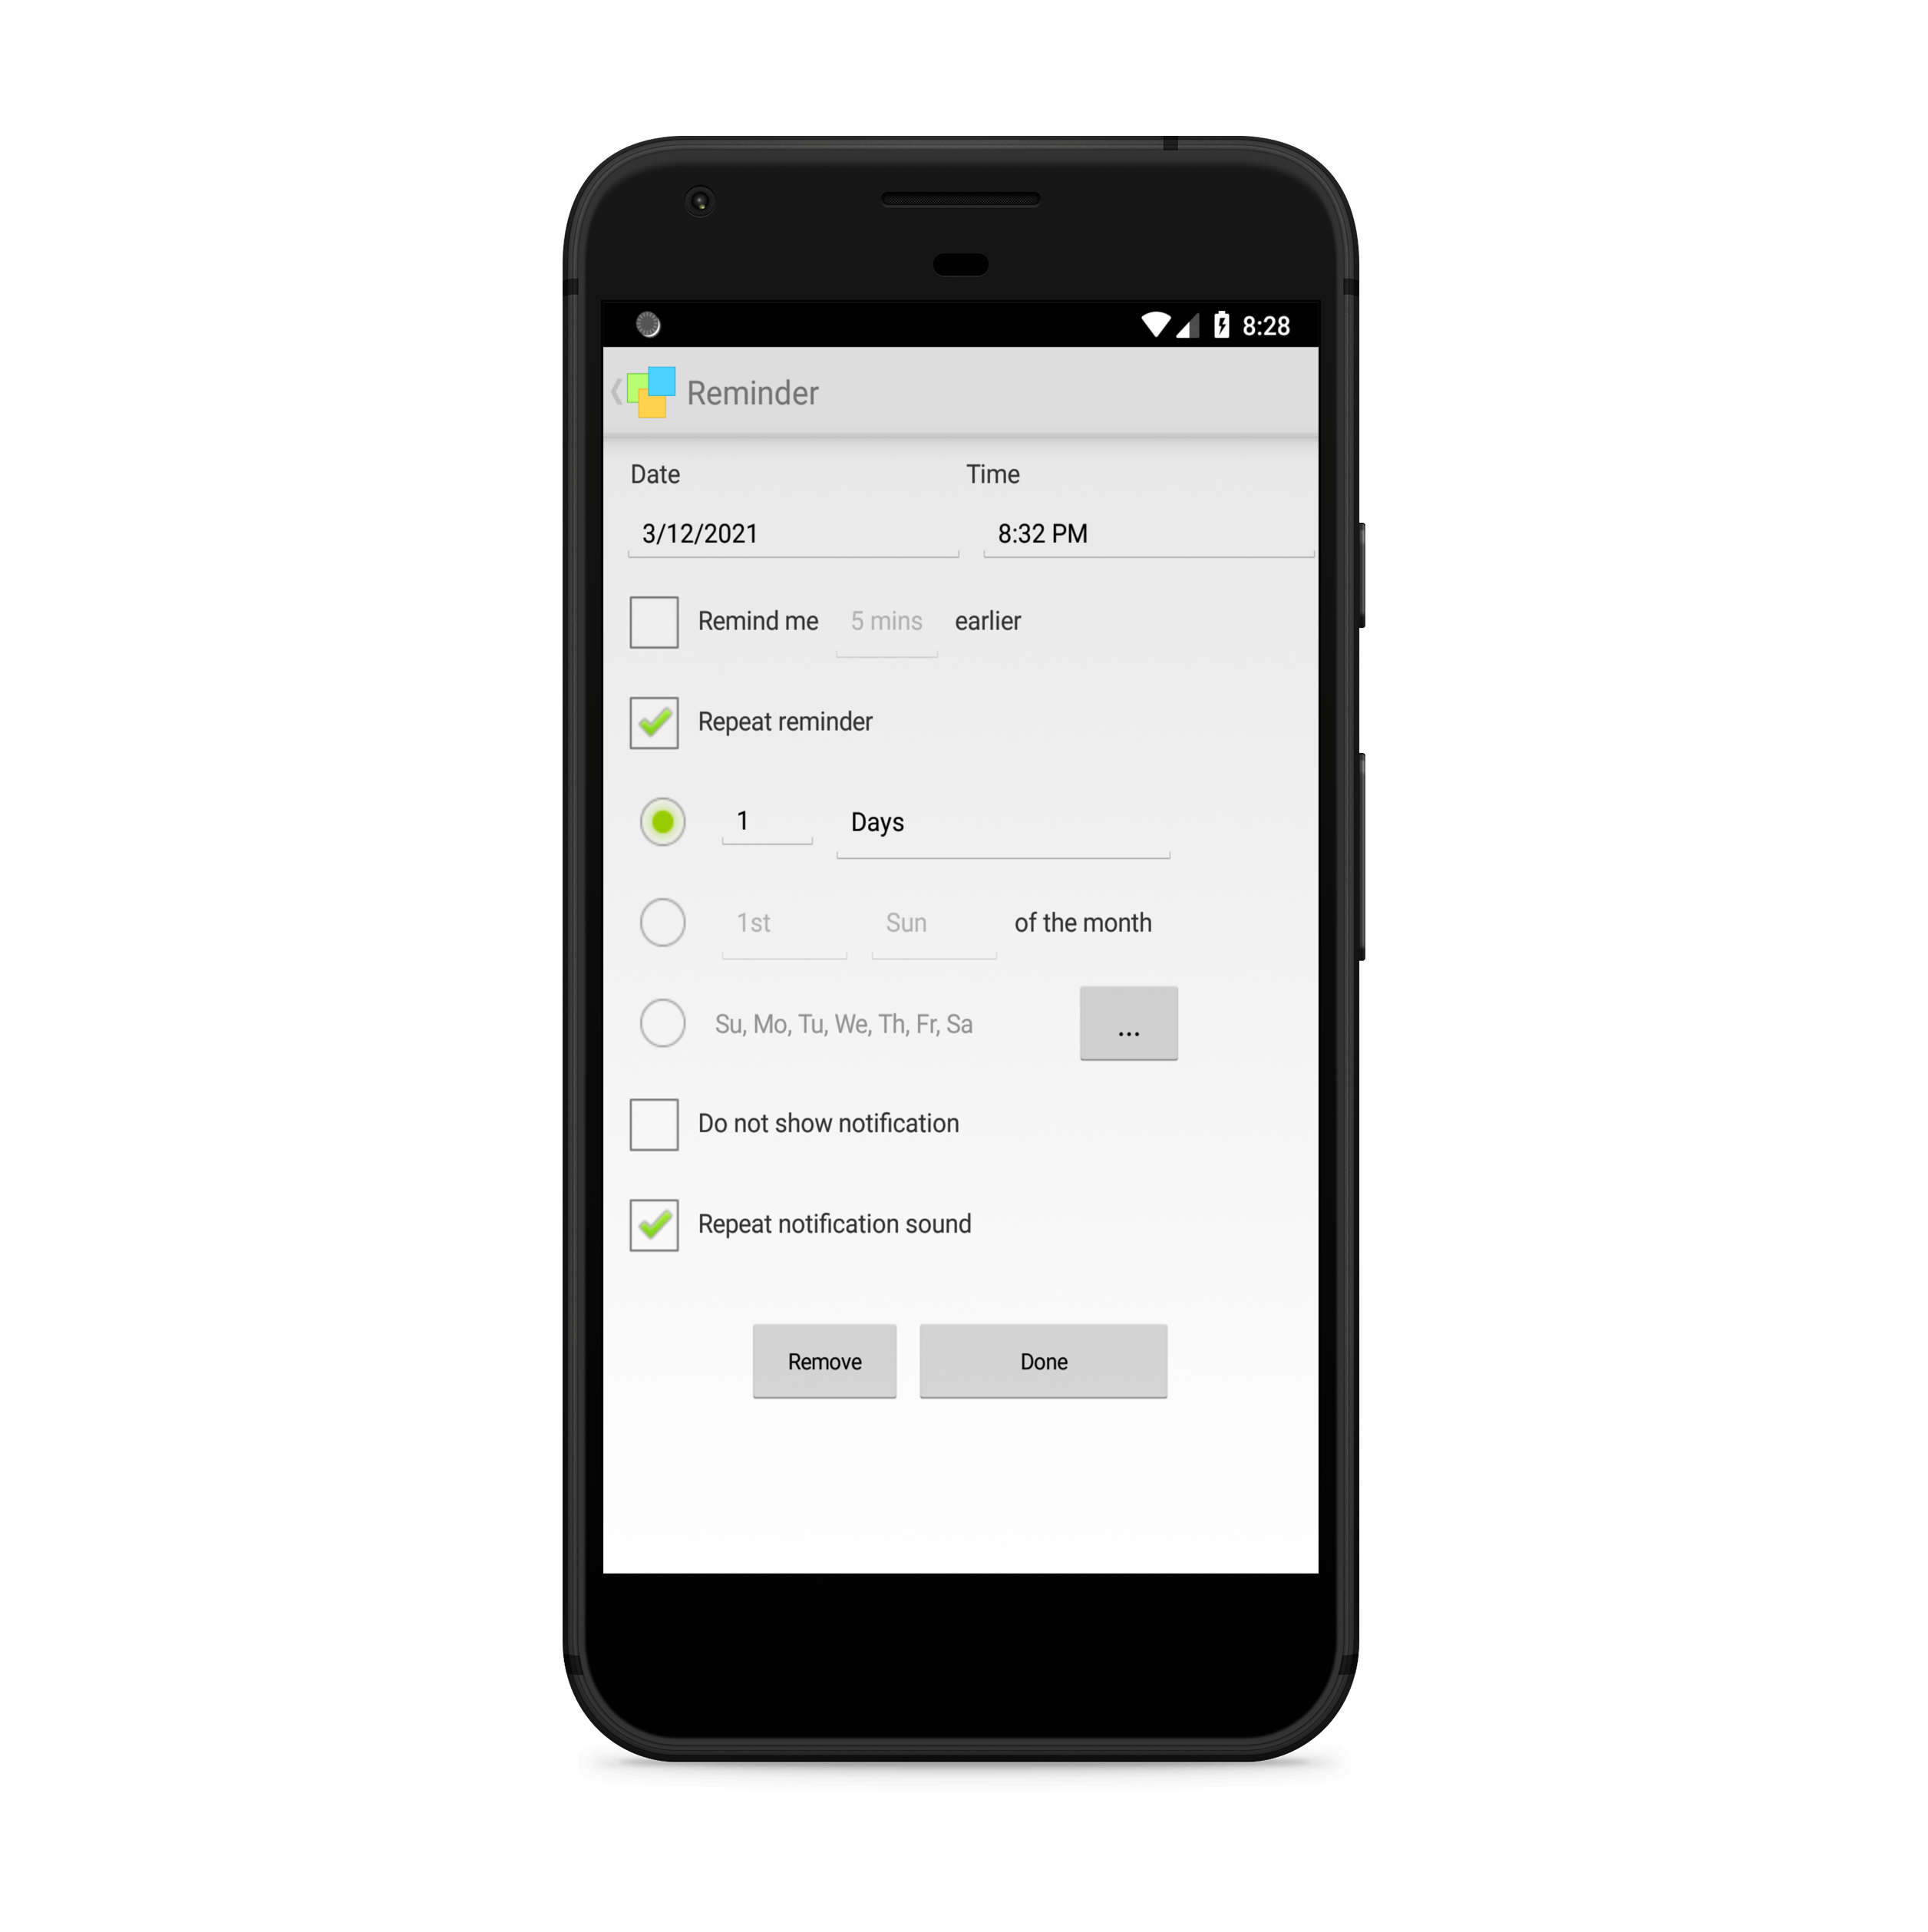
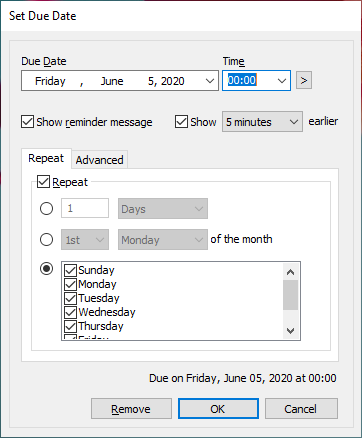
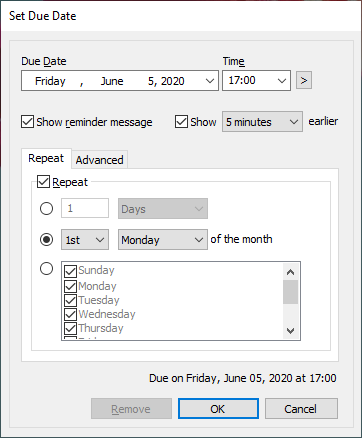
2. Add a reminder to this sticky note. Set the repeat frequency for the reminder. You can customize the repeat using the options given.
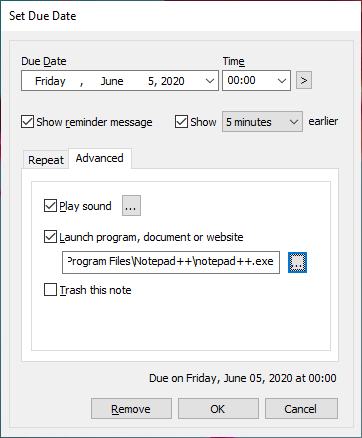
3. Go the the Advanced tab of this reminder window and choose the option ‘Launch program, document or website.’
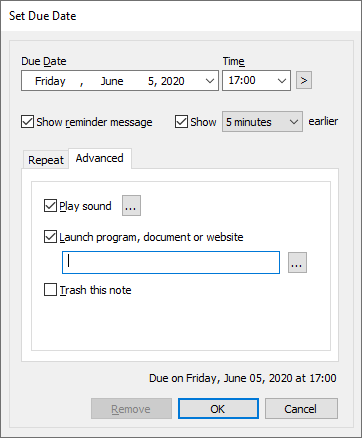
4. Type the program name or browse and choose the program and click OK.
5. The reminder alarm will pop-up at the specified time and the program will also launch along with it. Since it’s a repeat reminder, the program will launch at specific intervals.
Using the Task Scheduler
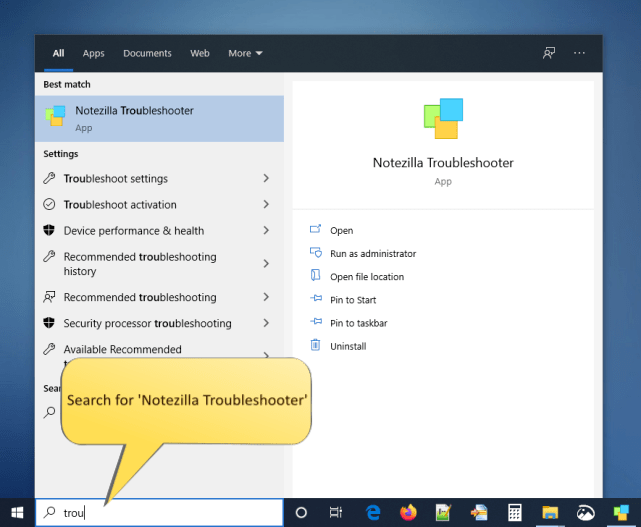
1.Search for ‘Task Scheduler’ in the Windows search bar and open it.
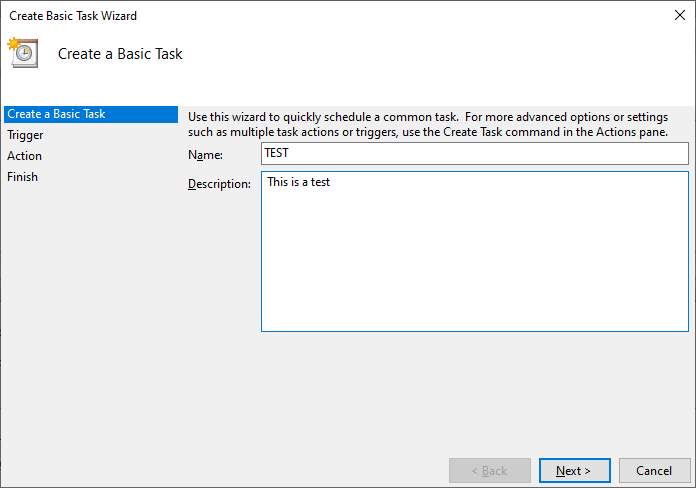
2. Under the ‘Actions’ section, choose ‘ Create Basic Task’.
3. Give your task a name and a description(optional) and click Next.
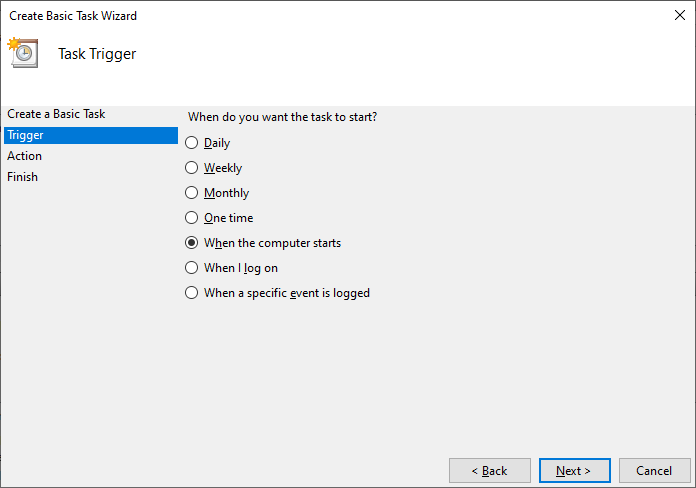
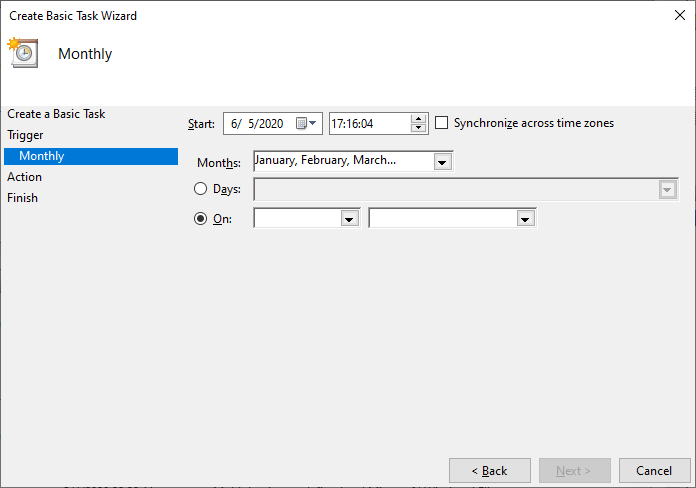
4. Choose the Trigger frequency. This basically means choosing when you want to start the task. Here, you can also choose to set repeat trigger. Click Next.
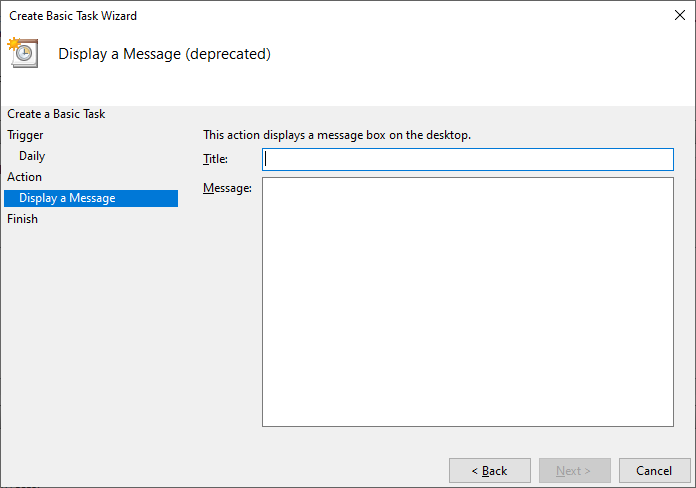
5. Type or browse the program you wish to launch and click Next.
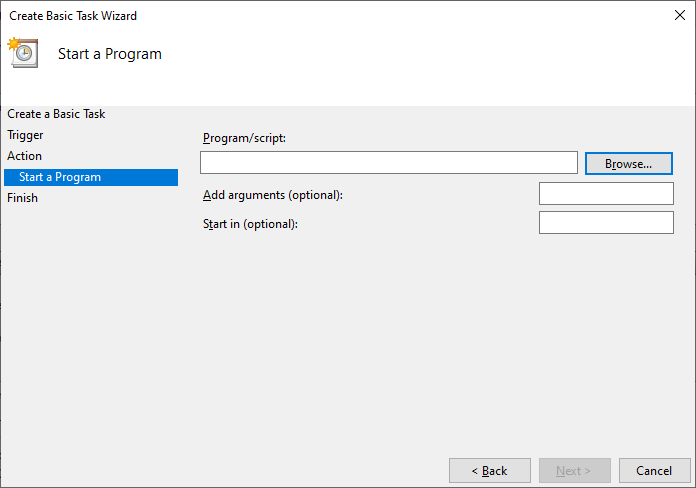
6. Click on Finish and you are all set.
Our Verdict
Looking at the steps you can judge that Task Scheduler is quite complicated with multiple windows and options to configure. Whereas Notezilla is quite simple and easy. You can configure it within a few seconds and move on with your work.
Here’s another cool thing you can do with Notezilla- schedule a program to run at startup. When you switch on your system, the program will launch.
Although there’s no direct option for this, we do have a simple hack. Just set the reminder time for the sticky note to midnight. So when you turn on your PC in the morning, the reminder will immediately pop-up along with the specified program.
So how about giving it a try today. It’s free and also perfectly boosts your productivity by saving your time and efforts!
Learn more about Notezilla.
Subscribe to our YouTube channel for interesting videos.
Check out our other cool products.
Have a good day!
Thank you for reading till the end :)