Compressing files of different types from multiple folders into a single zip file offers several advantages. Copywhiz enhances organization, simplifies file sharing and collaboration, and reduces the storage space.
This is achievable with few clicks and minor setting changes in Copywhiz.
What is Copywhiz?
Copywhiz enhances your file-copy experience by letting you to have more flexibility & control over the file copying and backup process.
Here is how Copywhiz makes file copying a breeze:
- Copy only new or modified files
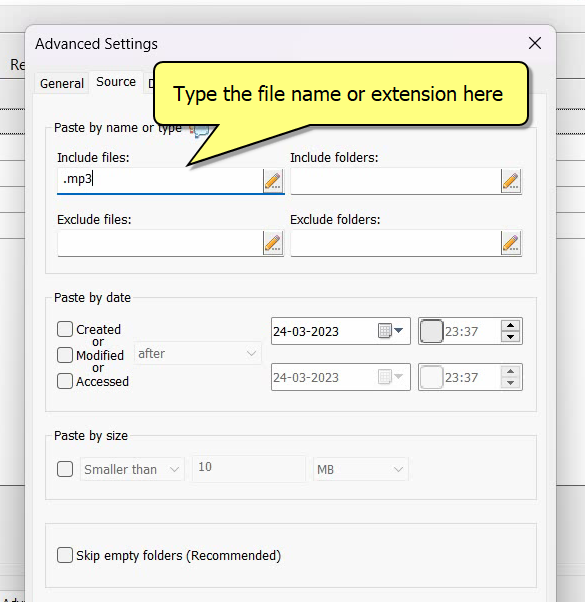
- Easily pick files by name, extension, folder etc from bunch of folders
- Automatically organize files based on file attributes and metadata
- Copy files to multiple folders/computers
- Copy files from multiple folders and paste them at once
- Sync files between source and destination
- Pick files from multiple folders and compress in single .zip file
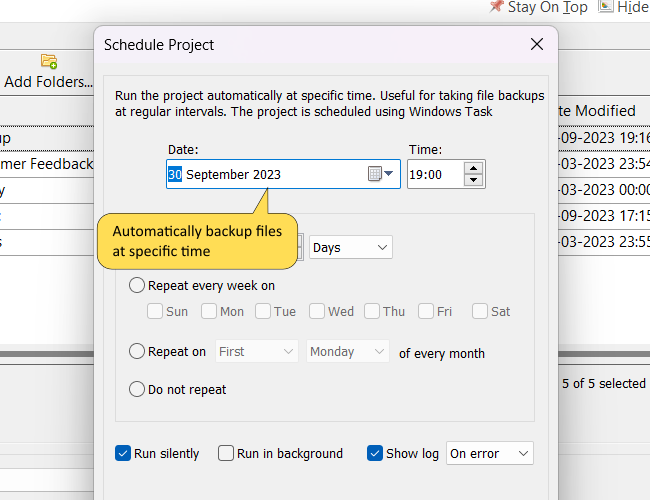
- Schedule file backups
- Verify copied files for data integrity
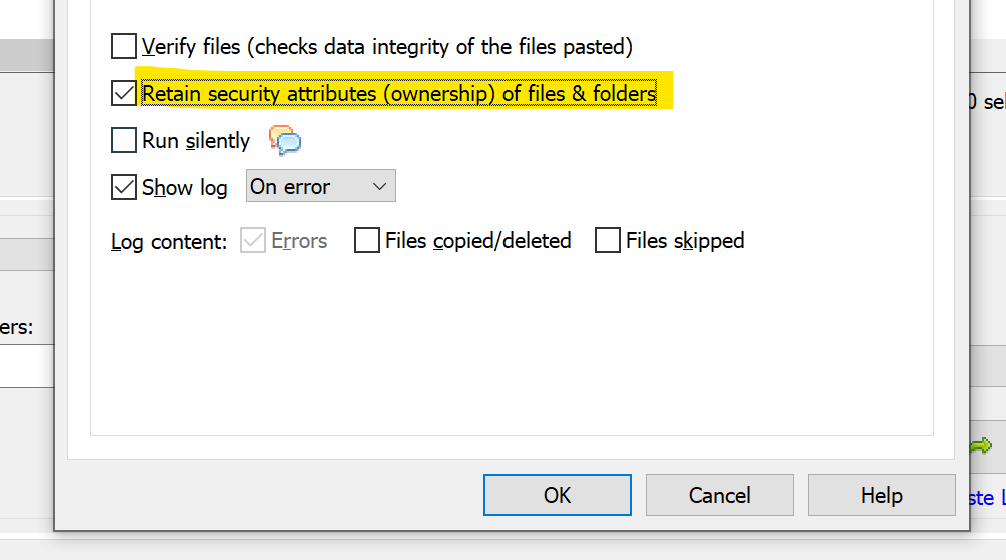
- Retain security attributes of files & folders (ownership/user access)
- Several more hidden nuggets designed to make your file-copy task easier.
Here is a video describing this feature:
Video Transcription:
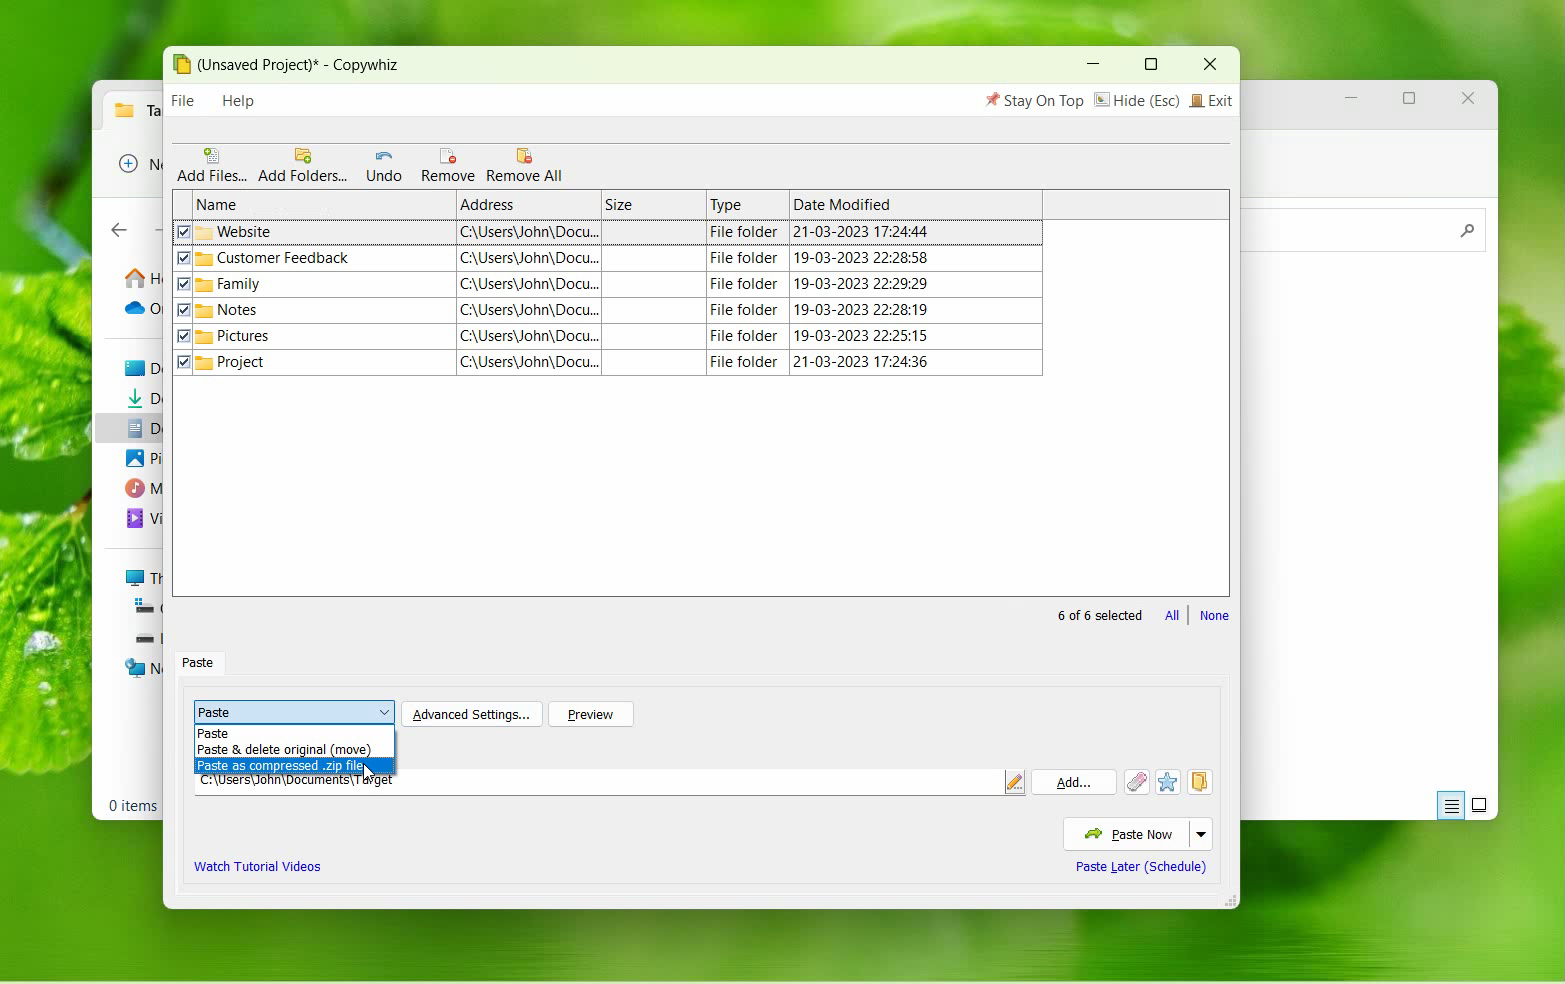
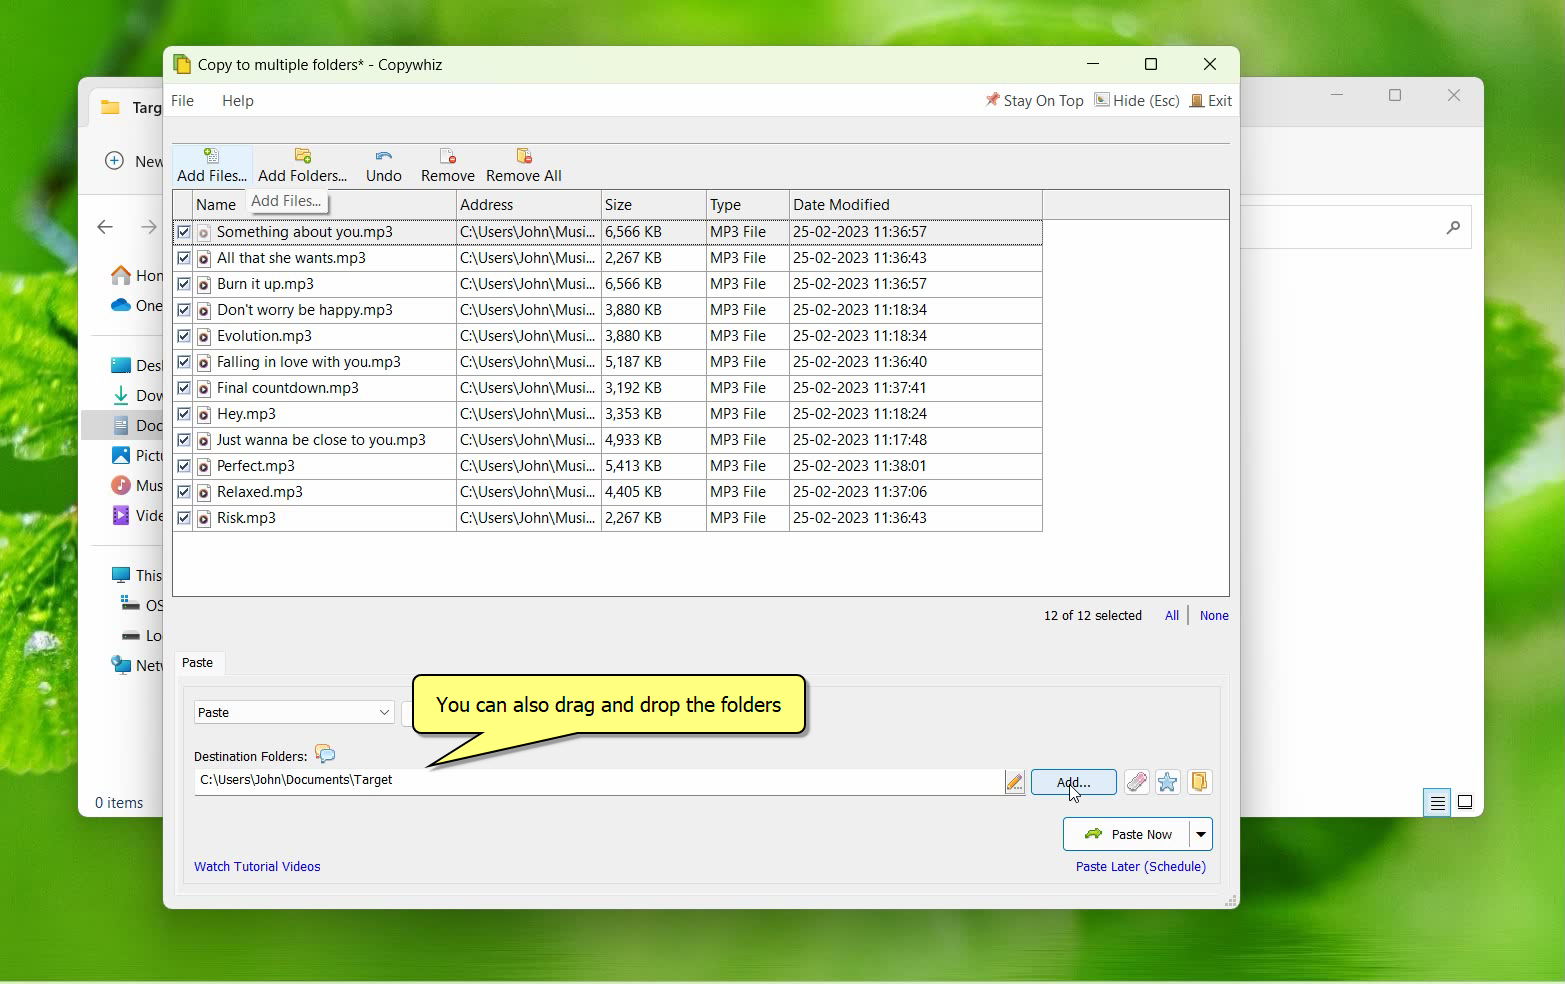
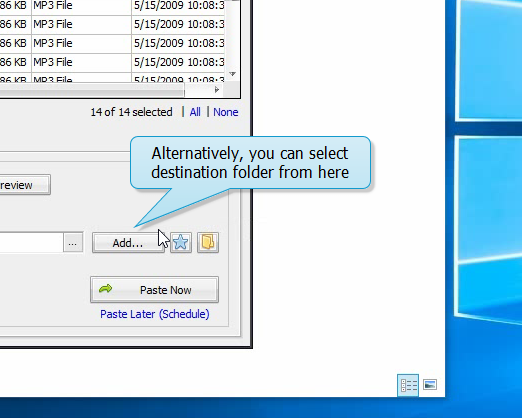
- As we see in the video, we are copying various files from different folders.
- Right-click and add it to Copywhiz.
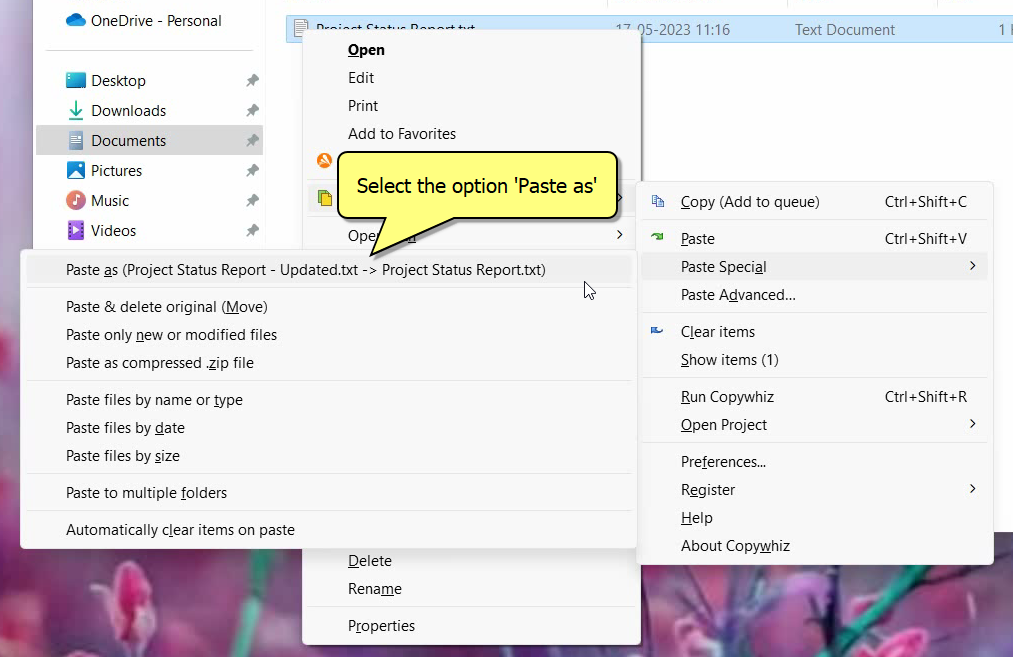
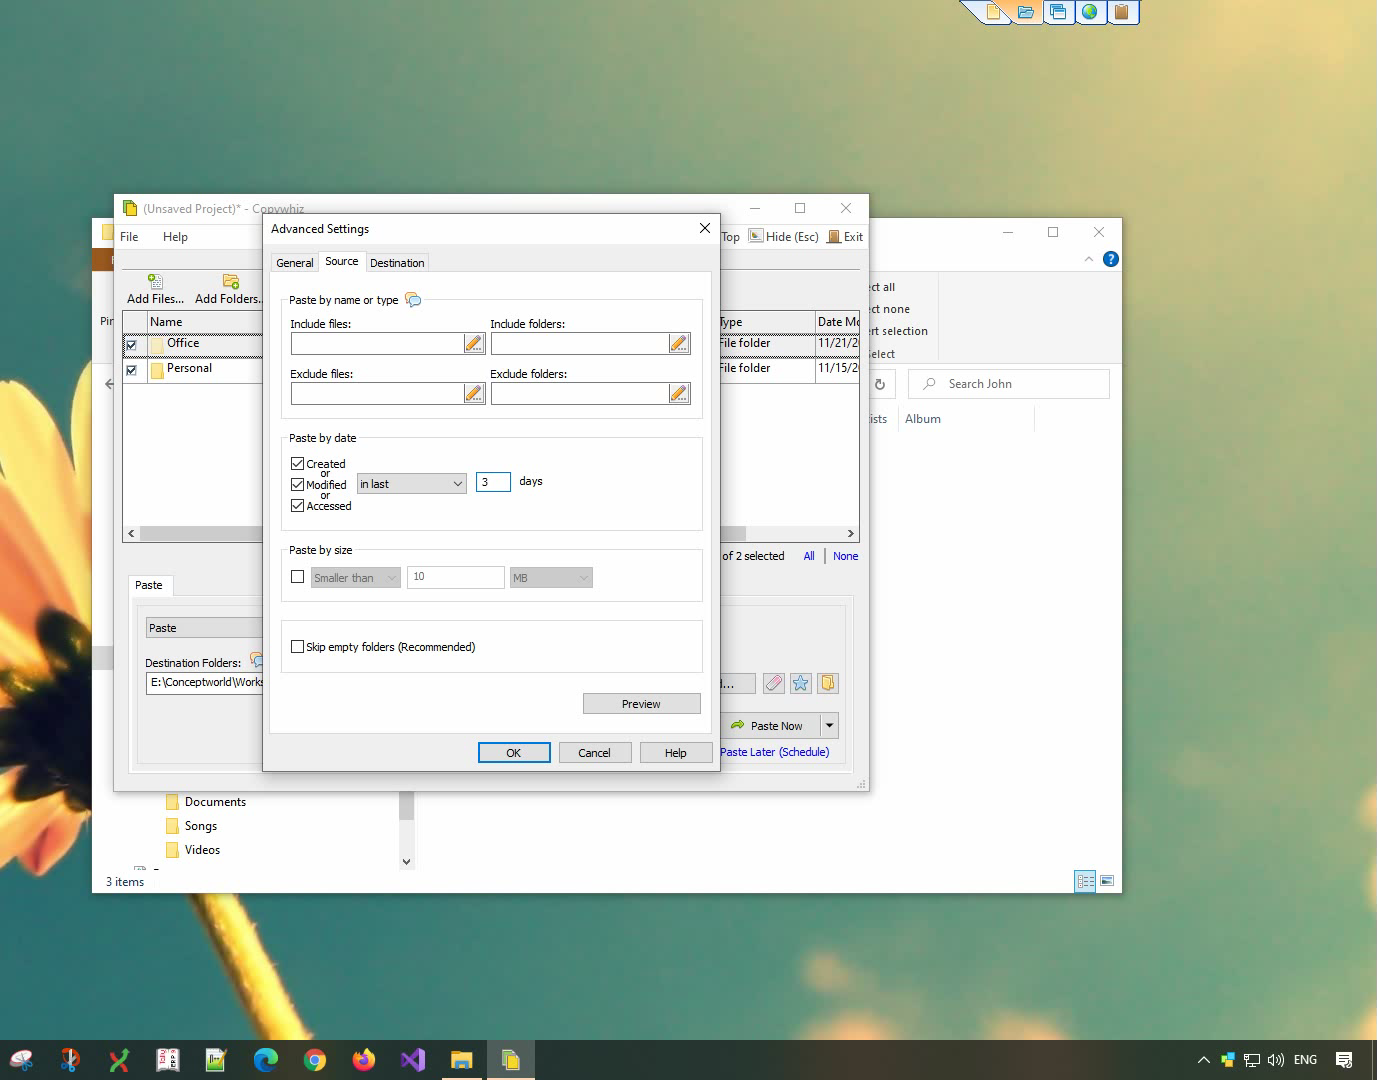
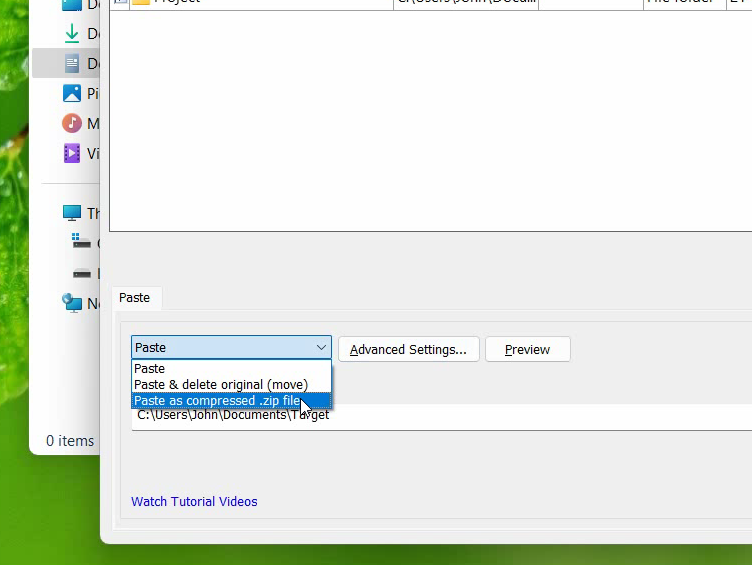
- Go to the destination folder, right-click and choose Copywhiz Paste Special.
- Under Paste special we can see Paste as compressed zip file.
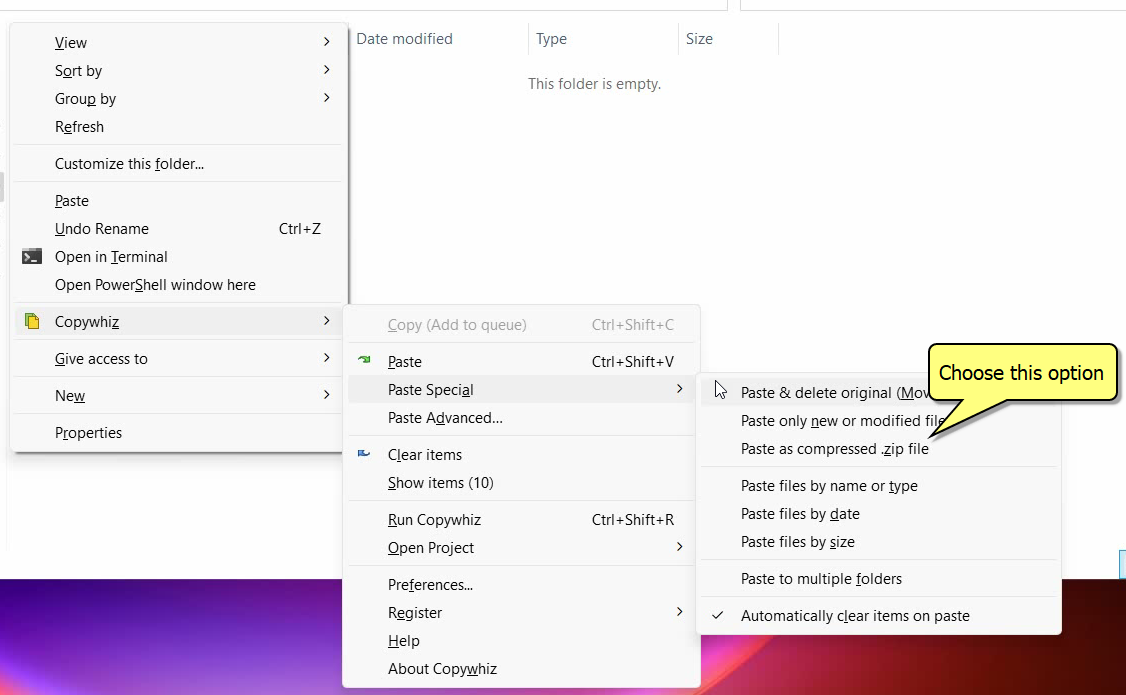
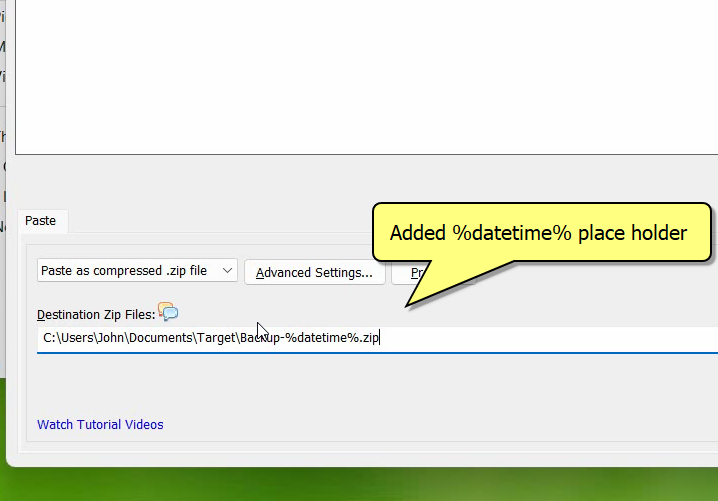
- Specify the name and paste now.
Conclusion
Learn more about Copywhiz. Download the free trial from here.
For short tutorial videos, Check out this page.
Subscribe to our YouTube channel for interesting videos.
Check out our other cool products.
Have a good day!