Copying files to multiple folders or computers in Windows streamlines file sharing, collaboration, and data management. In this guide, we’ll explore two powerful tools: Copywhiz and Robocopy. We’ll walk through step-by-step methods for both tools.
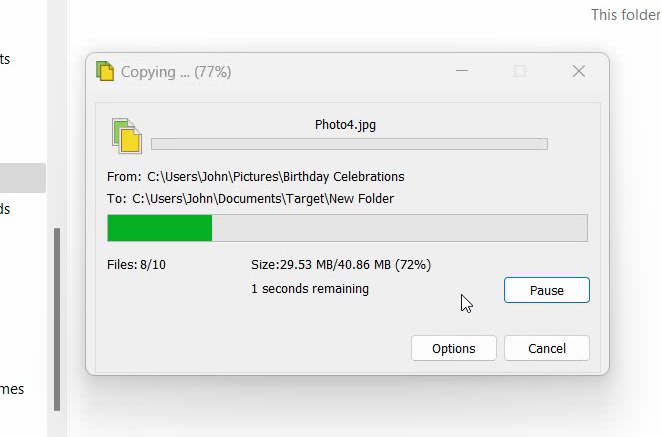
Copywhiz copies files simultaneously to multiple locations, thus completing the tasks faster.
What is Copywhiz?
Copywhiz enhances your file-copy experience by letting you to have more flexibility & control over the file copying and backup process.
Here is how Copywhiz makes file copying a breeze:
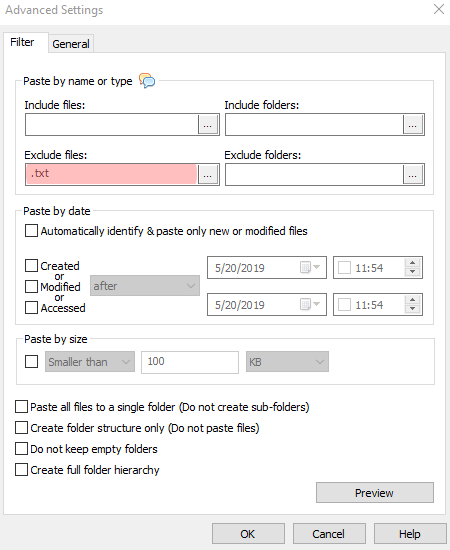
- Copy only new or modified files
- Easily pick files by name, extension, folder etc from bunch of folders
- Automatically organize files based on file attributes and metadata
- Copy files to multiple folders/computers
- Copy files from multiple folders and paste them at once
- Sync files between source and destination
- Pick files from multiple folders and compress in single .zip file
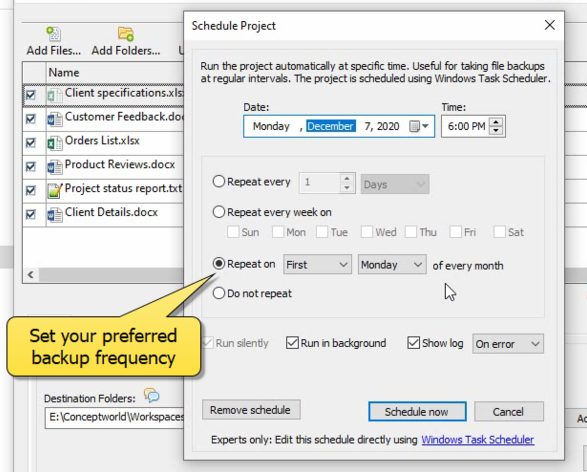
- Schedule file backups
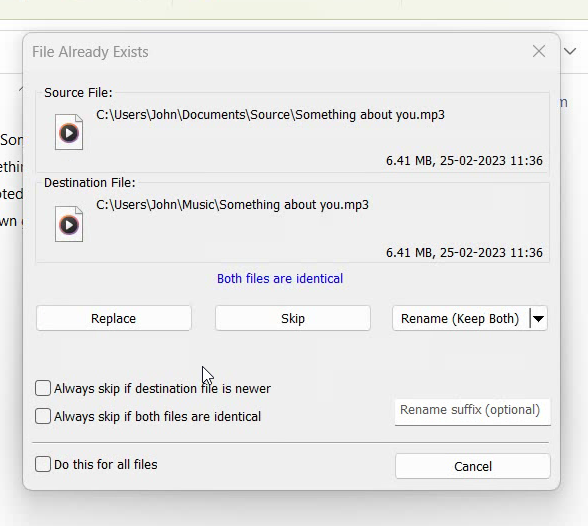
- Verify copied files for data integrity
- Retain security attributes of files & folders (ownership/user access)
- Several more hidden nuggets designed to make your file-copy task easier.
Transcription:
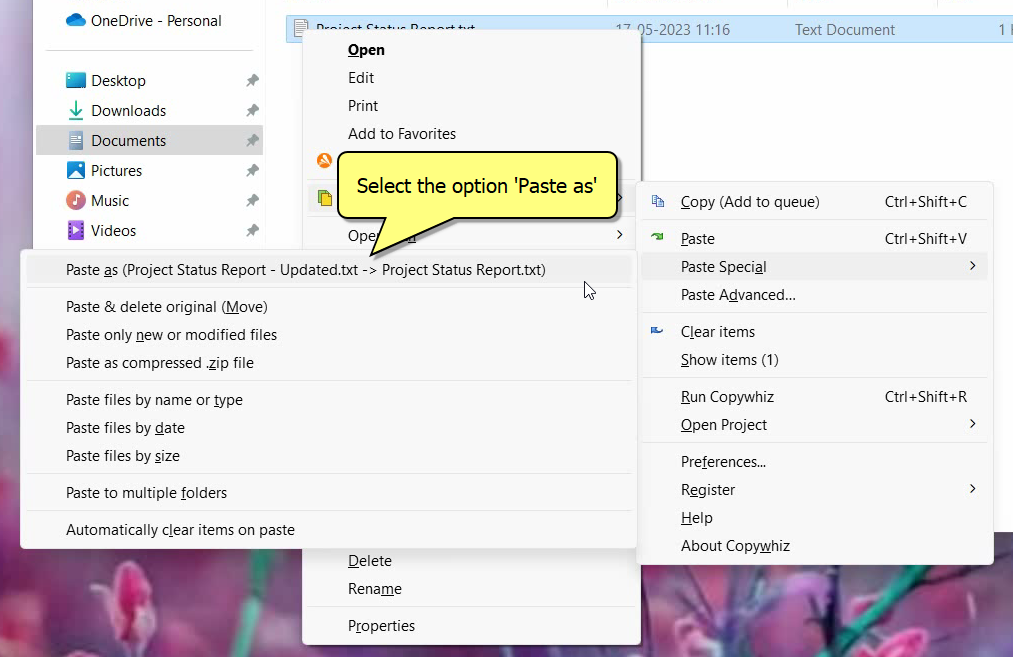
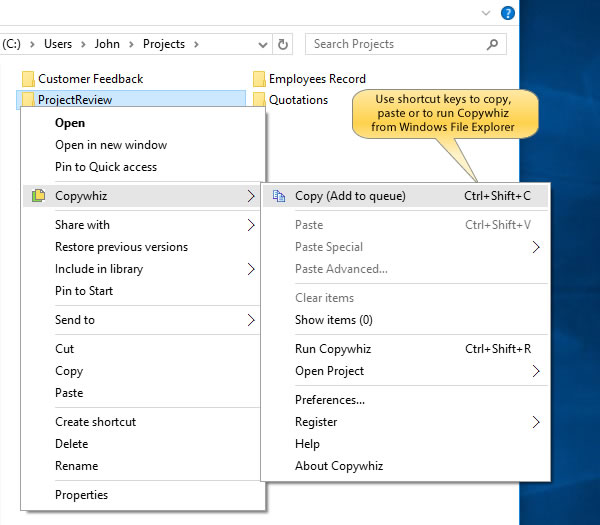
- Select files using Windows Explorer, right-click on them and choose Copywhiz–>Copy from the menu.
- Right-click inside any folder and select Copywhiz–> Paste Advanced.
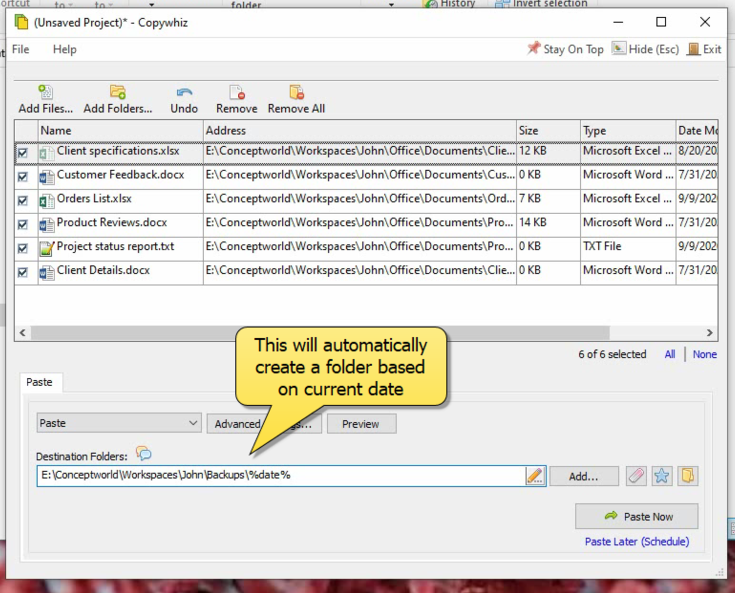
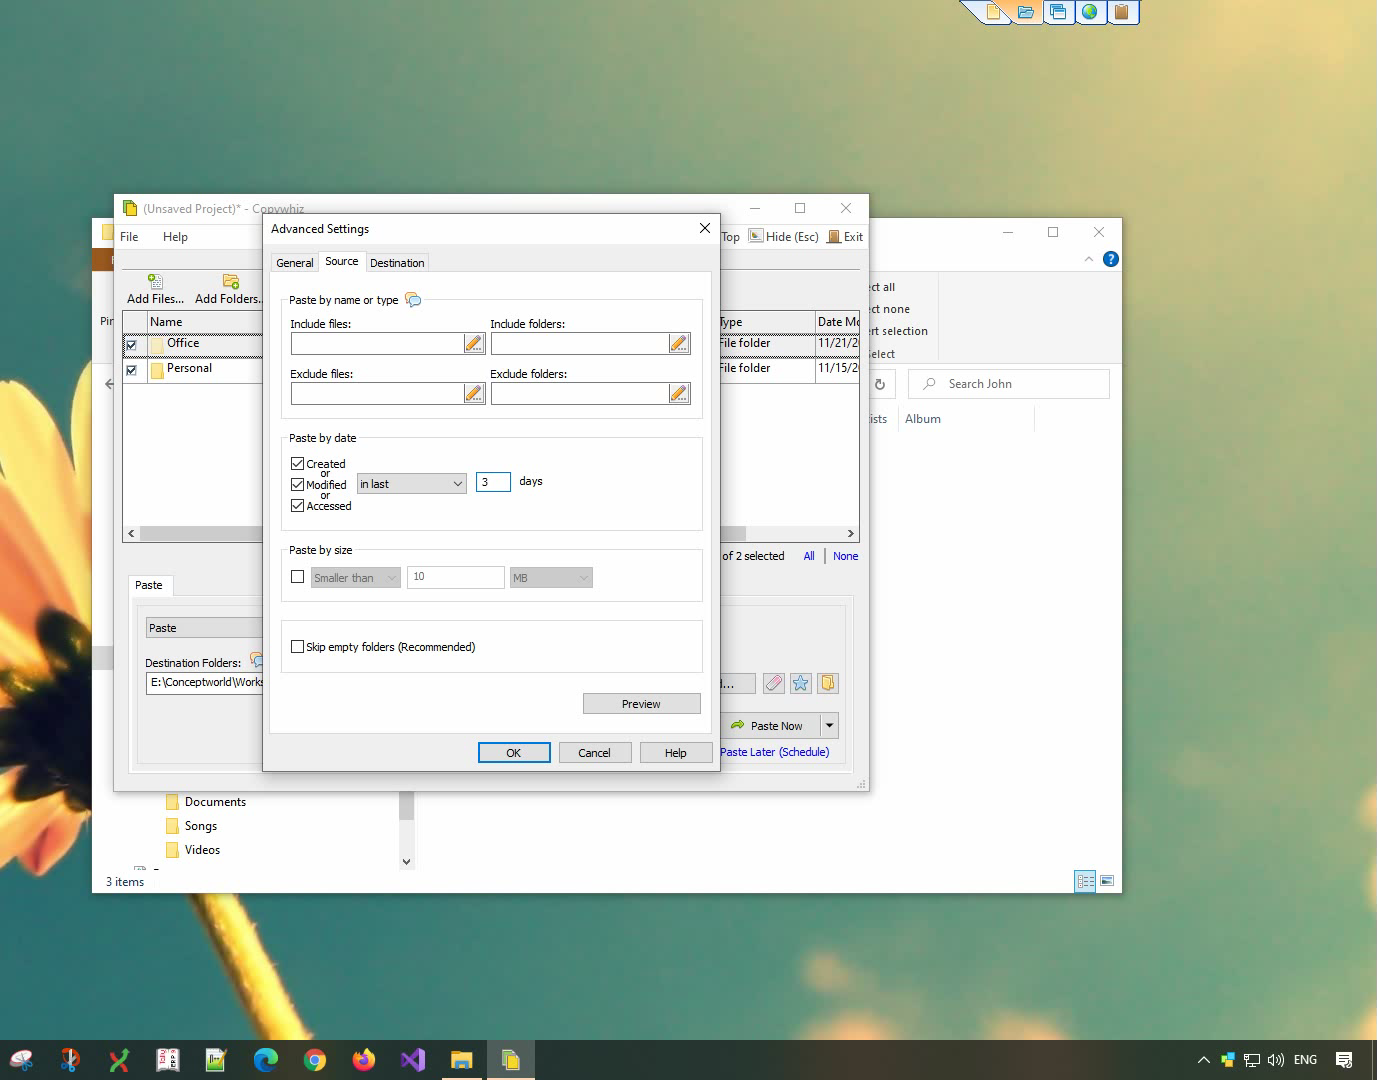
- Copywhiz window will open. You can add multiple folders by clicking on the Add button placed next to the Destination Folders text box. Alternatively, you can simply drag and drop target folders over the Destination Folders text box. When specifying the Destination Folders, you can suffix the name with %date% or %datetime% variables if you wish to have a dated folder name.

- Click on Paste Now. Files will now be copied to all the destination folders sequentially.
That’s it in this video.
Let’s have a look on step by step process using Robocopy.
Using Robocopy:
Step 1: Open Command Prompt
- Press
Win + R, typecmd, and hitEnterto open the Command Prompt.
Step 2: Use Robocopy to Copy Files
To copy a file or folder to multiple destinations, use the following syntax:
robocopy "C:\SourceFolder" "C:\DestinationFolder1" /E
robocopy "C:\SourceFolder" "C:\DestinationFolder2" /E
This will copy all files and subfolders from C:\SourceFolder to both C:\DestinationFolder1 and C:\DestinationFolder2.
Step 3: Copy Files to Multiple Network Computers
If you need to copy files to network locations, use this command:
robocopy "C:\SourceFolder" "\\PC1\SharedFolder" /E
robocopy "C:\SourceFolder" "\\PC2\SharedFolder" /E
This sends the files to the shared folder on PC1 and PC2.
Step 4: Automate the Process (Optional)
You can create a batch file to automate the task:
- Open Notepad and paste the Robocopy commands.
- Save the file as
copy_files.bat. - Double-click the batch file to execute the copy process automatically.
Conclusion
If you prefer a user-friendly GUI with more flexibility, Copywhiz is a great.
For more tutorial videos, click here .
Subscribe to our YouTube channel for regular updates and interesting videos!
Learn more about Copywhiz.
Download the free trial from here.
Check out our other cool products.
Have a good day.
Thanks for reading till the end :)