Hello Friends!
Tagging files and folders be extremely useful. And sharing them with other users is even more beneficial to businesses and organizations. Tagging lets you group files distributed across different folders or systems. Filezo allows you to assign multiple logical attributes without actually changing their physical locations.
Filezo lets you do exactly this in Windows. Tagged files and folders can be shared with other users over the network.
What is Filezo?
Filezo is a superfast launcher for Windows designed to make your computing life joyful. It gives you instant access to any of your files, folders and apps without the need to browse through hierarchical folders. Type and go! That’s it.
Here is are some of the key Filezo features:
- Lightning speed access to any file, folder or app on your Windows PC.
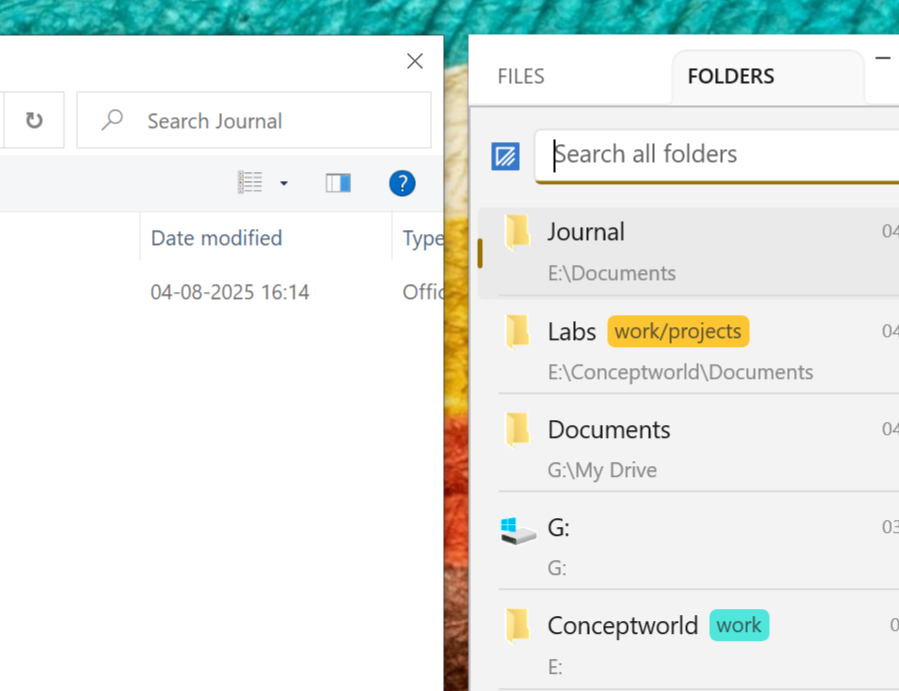
- Tag files and folders. Supports color-coded and hierarchical tags.
- Pin frequently used files and folders on top of the list for quick one click access.
- Add a note to any file without modifying the file itself.
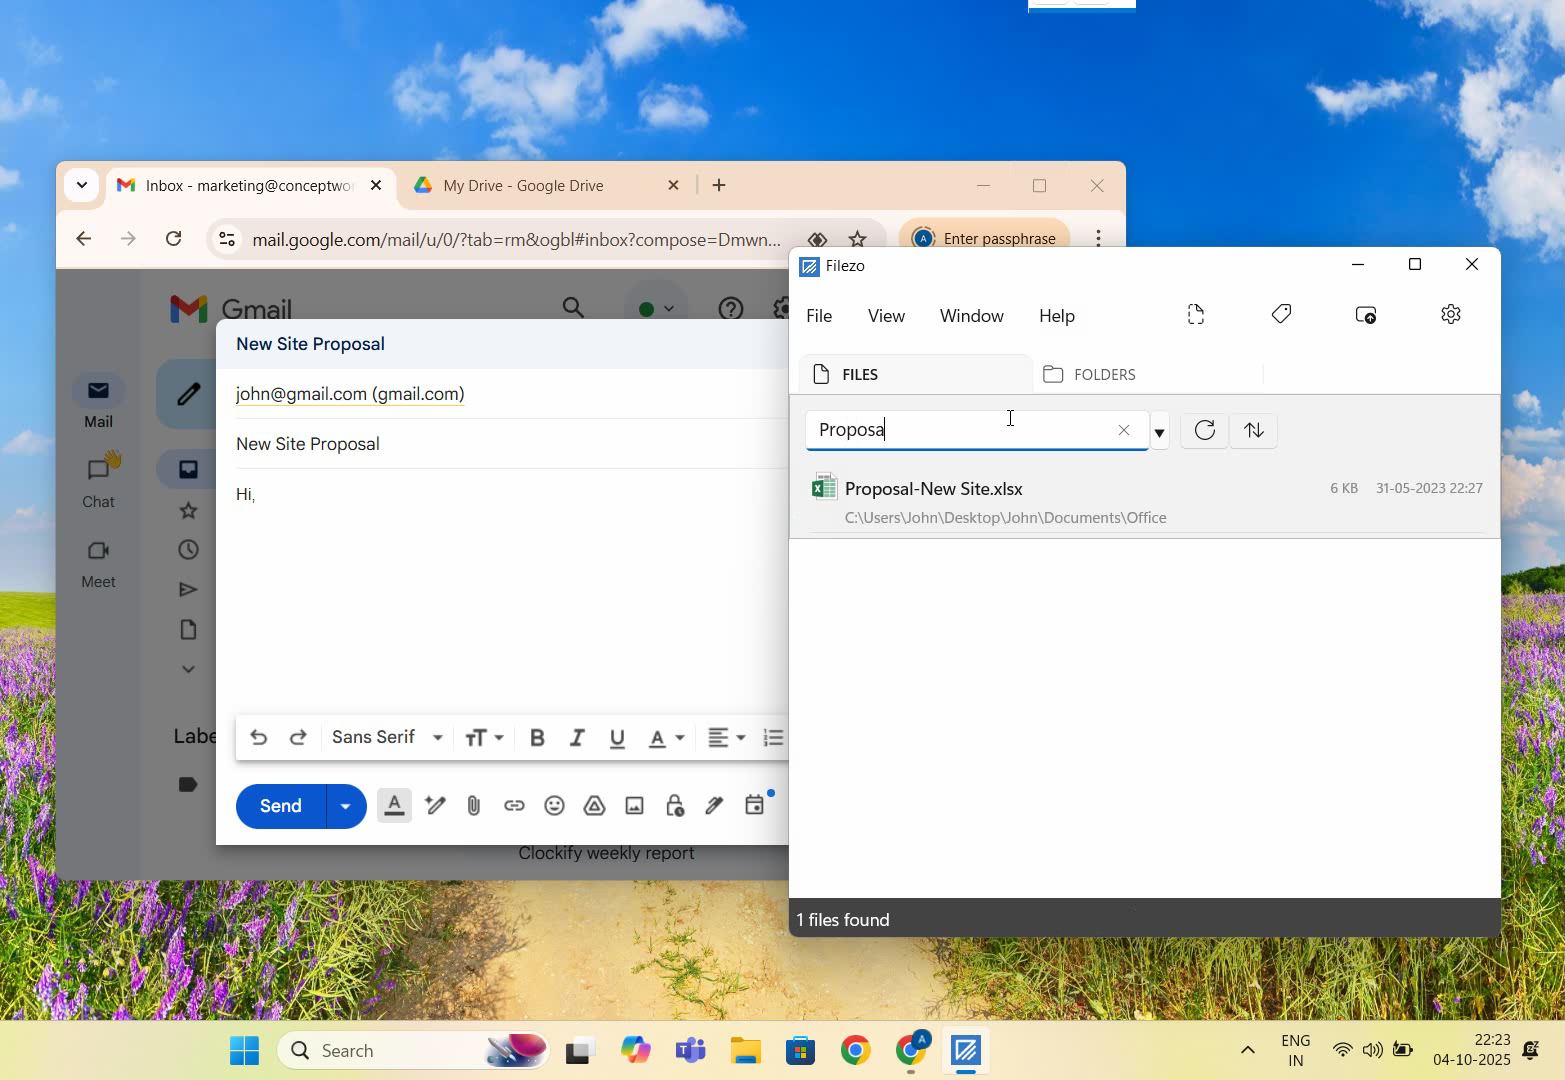
- Integrates with the Windows File open/save window. Directly select a file or jump to any folder in Windows File open/save window using Filezo.
- Preview various types of files including audio/video. Install previewer add-ons to support more files.
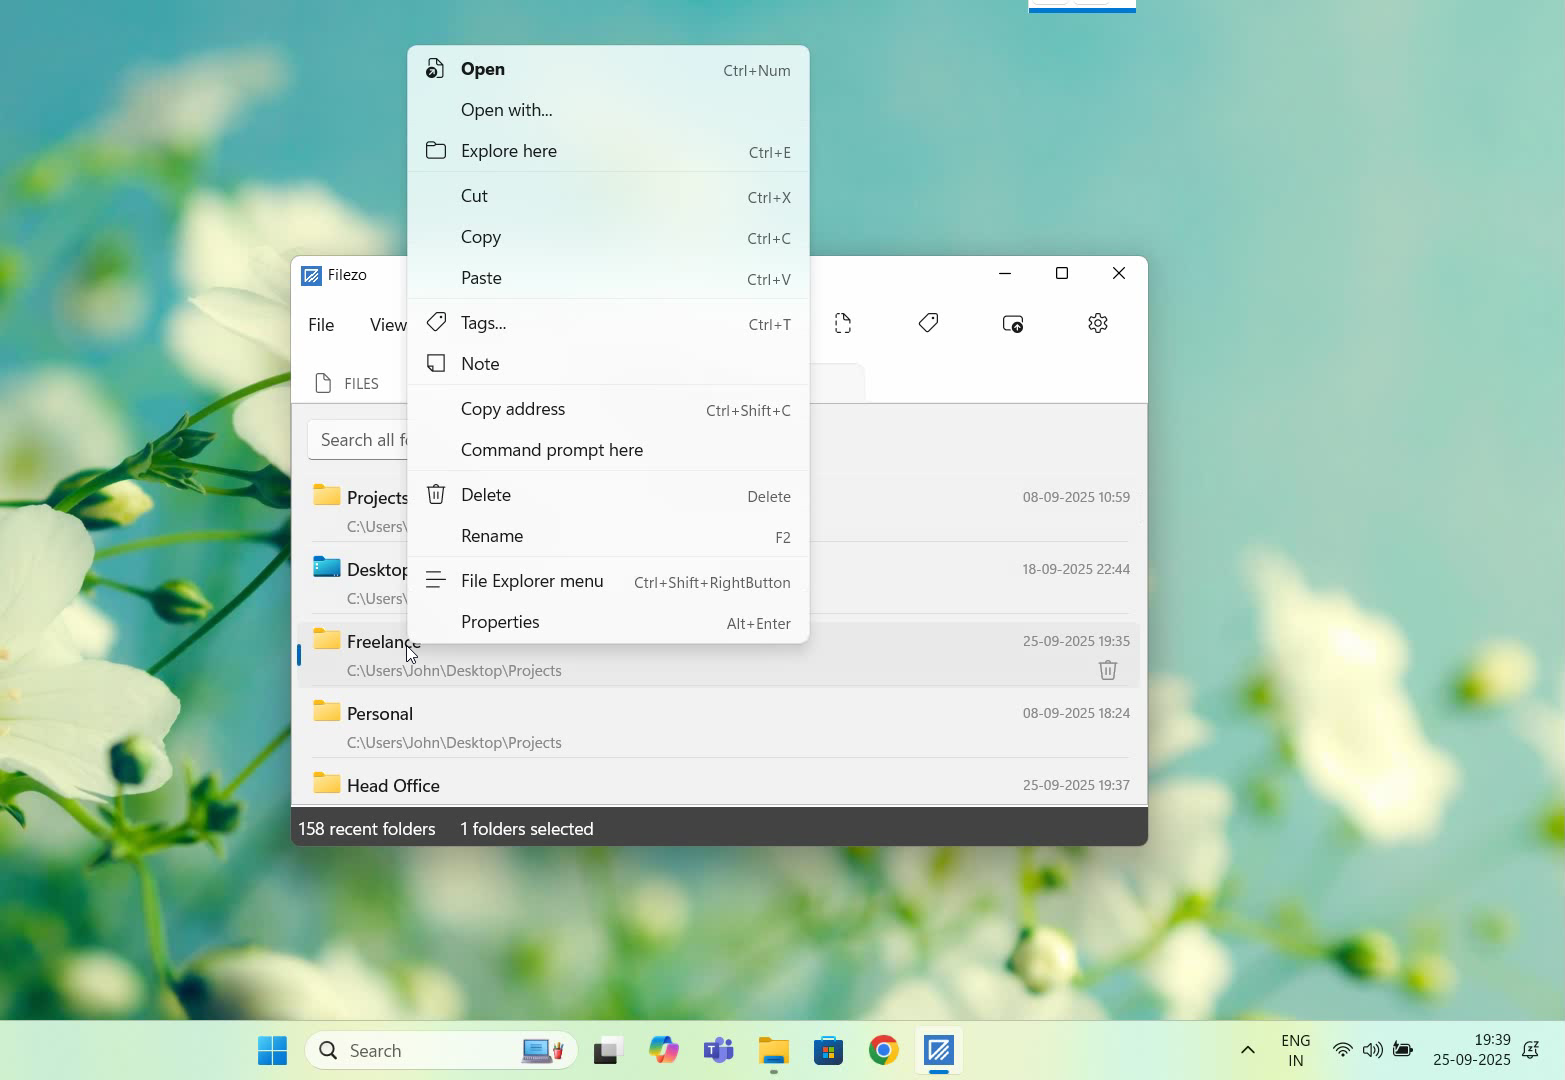
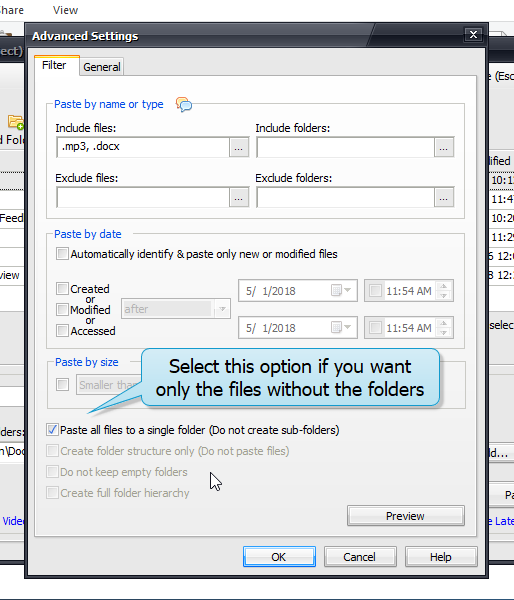
- Quick manage files (copy, rename, delete, move) directly from Filezo without the need to open your File manager like Windows File Explorer..
- Share tagged files and folders with other Filezo users over network.
- Share annotated files and folders with other Filezo users over network.
- Quickly find and drag/drop a file over other apps such as the Internet browser, email app, messaging app etc.
- Many more hidden nuggets designed to make file and folder access easier.
Among the many useful features of Filezo, one is that you can tag items that you frequently use so that you can instantly access them without much search efforts.
Tag files and folders using Filezo.
Here is a short video showing how this works:
Transcription of the above video:
- Open the ‘Files’ tab in Filezo.
- Right click on a file and select the Tags option from the menu.
- We can assign multiple tags using comma as shown in the video.
- Let’s try another way of creating a tag.
- Go to the Tags pane and add a new tag.
- Choose your preferred tag color.
- Now drag and drop the tag on the file.
- Right click on the tag for more options like edit or delete.
- Let’s open the ‘Folders’ tab now.
- Drag and drop the Marketing tag on the folder.
- Just double click on the tag to view the tagged folders.
- Another way is to type # in the search box and select the tag from the tags list.
That’s it in the video. Sharing tagged files and folders with other users over the network is so helpful in organizations, they just have to install Filezo and index the same shared folders. They will have instant access to the same tags. This can be very useful for businesses.
Learn more about Filezo and also check out more tutorial videos, check out this page.
Thanks :)
Have a good day!