Hi!
The video given below will tell you how to send sticky notes over local network across computers using Notezilla.
What is Notezilla?
Notezilla is a professional, elegant & highly rated sticky notes app for Windows & Phones (Android, iOS, iPhone, iPad etc). You can also access your sticky notes from a Mac.
Notezilla helps you organize various tiny bits of information you would need through out your life. It keeps all your notes, tasks & reminders handy where ever you are. With sticky notes, you hardly have to put effort to take notes, set reminders, etc. Quickly jot down & move on with your task at hand.
Here are some features of Notezilla:
- Sticky notes with reminders
- Attach sticky notes to websites, documents, folders & apps
- Organize sticky notes inside folders to keep your Windows desktop clean.
- Pin sticky notes on top of other apps
- Sync sticky notes between Windows, Android, iPhone, iPad
- Add pictures inside sticky notes
- Checklist sticky notes
- Lock sticky notes (password protect)
- Markdown support
- Send notes over local network (LAN) or across the globe
- Tag sticky notes
- Fully transparent sticky notes
- Dark mode
Notezilla allows you to send sticky notes to any computer using the computer name or the IP address. The sticky note will be received directly on the recipient’s Windows desktop if she is a Notezilla user too. Notezilla also supports sending notes to a group of computers at once. Using Notezilla, you can also send sticky notes to any computer outside your network anywhere in the world. However, this article will only show how to send sticky notes within a local network (LAN).
Transcription:
- Click on the Notezilla icon in the taskbar, select New Note and write your note.
- Click on the top-left button (Note Menu button) of the sticky note and select Send To –> Computer (Or press Ctrl+G).
- A dialog box window will appear. Click on Manage Computers –> Add Computers. Add computers in the text box as per the format and select Next. The computers are added successfully. Instead of computer names, you can also specify IP addresses. On certain networks, addressing by computer name may not work. In such cases, the IP address needs to be used.
- IMPORTANT: Follow the above steps on the recipient computer also (adding your computer to the recipient’s computer list in Notezilla). Doing this will ensure that the Firewall settings are updated on the receiving computer also.
- After adding computers, you can now select the computer from the computers list in Notezilla, tick the first checkbox before the name column and click Send Now button to send the sticky note.
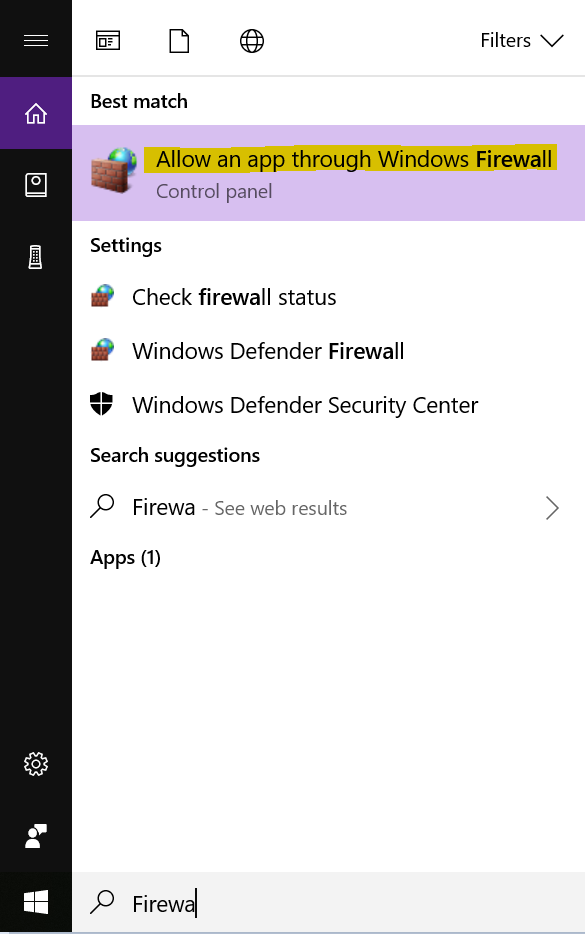
Allow Notezilla through Windows Firewall
Make sure first to configure your PC firewall to allow the running of Notezilla. The firewall on the PC might sometimes not allow to send or receive notes.
You can search for the firewall in the Windows search box, and you will see “Allow an app through Windows Firewall.” Choose this option and enable Notezilla. If Notezilla is not listed, then click on ‘Allow another app’ and add Notezilla.
If you are using any other Firewall tool (usually included with Anti-Virus software), then you will have to configure that firewall.
Make sure you do this on both sending and receiving computer.
Subscribe to our YouTube channel for more such interesting videos.
That’s it in this video. For more tutorial videos, check out this page.
Check out our other cool products.
Have a good day
Thanks for taking the time to read :)