Hey Guys! Copying files to every sub-folder inside a folder can be a long and tedious task, but it can be efficiently accomplished using Copywhiz. Here we have a blog which will guide you on how to achieve this using Copywhiz and Robocopy.
First we will see how to copy files to every sub-folder inside a folder using Copywhiz.
What is Copywhiz?
Copywhiz enhances your file-copy experience by letting you to have more flexibility & control over the file copying and backup process.
Here is how Copywhiz makes file copying a breeze:
- Copy only new or modified files
- Easily pick files by name, extension, folder etc from bunch of folders
- Automatically organize files based on file attributes and metadata
- Copy files to multiple folders/computers
- Copy files from multiple folders and paste them at once
- Sync files between source and destination
- Pick files from multiple folders and compress in single .zip file
- Schedule file backups
- Verify copied files for data integrity
- Retain security attributes of files & folders (ownership/user access)
- Several more hidden nuggets designed to make your file-copy task easier.
Here’s a short video on this feature:
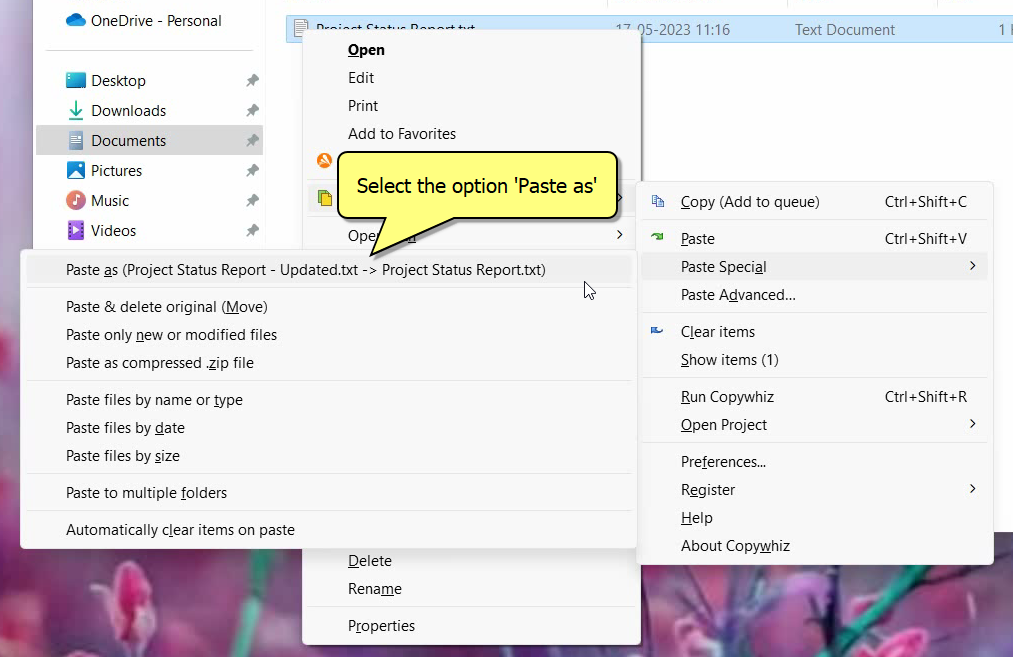
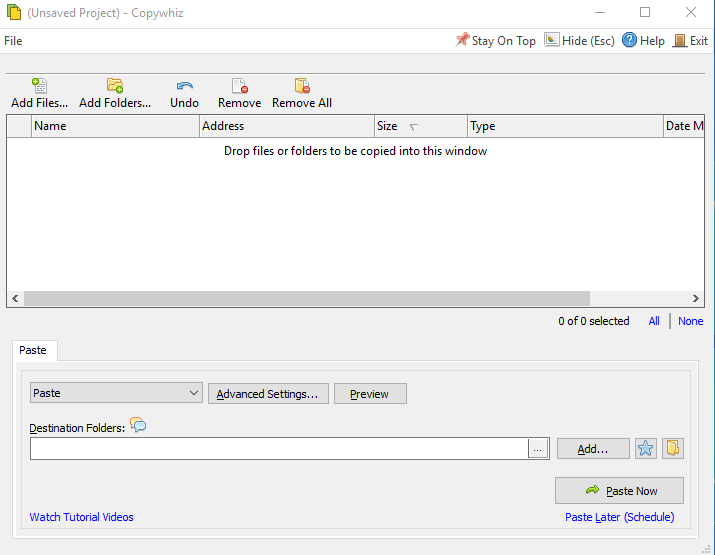
1. After you select your files in Copywhiz, go to the destination folder and Choose ‘Copywhiz -> Paste Advanced’.
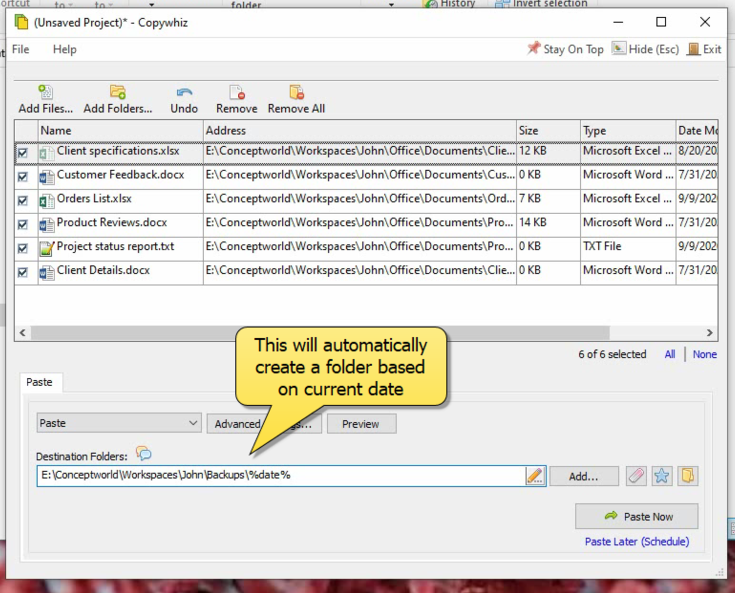
2. The Copywhiz main window will open. Choose the Advanced Settings Tab from there.
3. Go to the Destination Tab and choose the ‘Paste a copy to every sub-folder under the destination tab ’ option. Here you can choose to paste under all sub-folders, or just first-level sub-folders, in the folder structure.
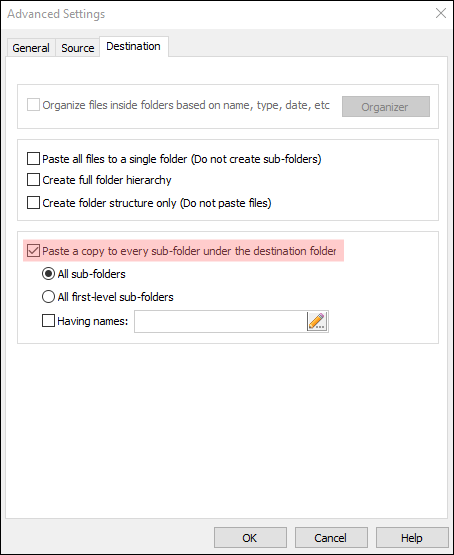
4. Click on OK and then the ‘Paste Now’ option.
Method 2: Using Robocopy
- Place the file you want to copy (e.g.,
config.txt) in a folder. Let’s assume it’s inC:\SourceFiles. - Open Command Prompt as Administrator.
- Use the following command: cmdCopyEdit
for /d %f in ("C:\Projects\*") do robocopy "C:\SourceFiles" "%f" config.txt
Explanation:for /d %f in ("C:\Projects\*"): Iterates through each sub-folder inC:\Projects.robocopy "C:\SourceFiles" "%f" config.txt: Copiesconfig.txtfromC:\SourceFilesto each sub-folder (%f).
Result:
config.txt is copied into each sub-folder under C:\Projects.
Advantages of Copywhiz:
- User-Friendly Interface: No scripting knowledge required.
- Advanced Options: Filter files by type, skip duplicates, and customize behavior.
- Error Handling: Provides detailed logs and recovery options.
- Time-Saving: Significantly faster for large-scale operations.
Conclusion:
If you prefer a simple, GUI-based method or want more control without writing scripts, Copywhiz makes the process incredibly easy.
Copywhiz thus is a simple and easy tool with advanced features and huge benefits!
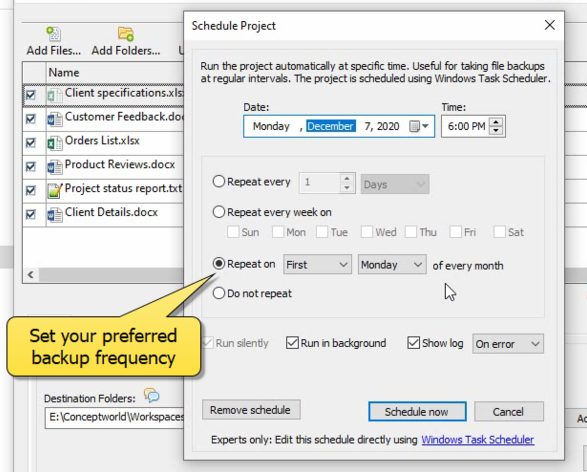
You can also schedule automatic file backups and take incremental backups using Copywhiz.
Learn more about Copywhiz. Download the free trial from here.
For short tutorial videos, Check out this page.
Subscribe to our YouTube channel for interesting videos.
Check out our other cool products.
Have a good day!
Thanks for reading till the end :)