Hey Guys! In this blog post we will see how to copy files without their folders. This approach is particularly useful when working with large collections of files, as it enables you to focus on the specific files you need, rather than navigating through multiple layers of folders.
Let’s take a look on how to achieve this using Copywhiz first.
What is Copywhiz?
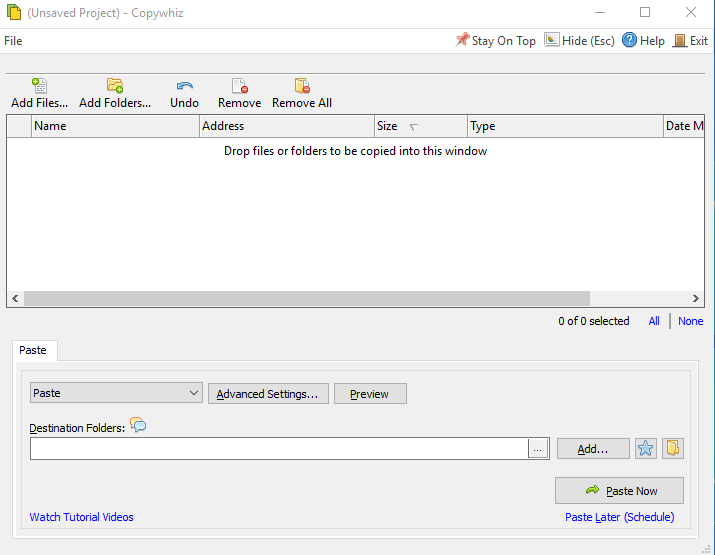
Copywhiz enhances your file-copy experience by letting you to have more flexibility & control over the file copying and backup process.
Here is how Copywhiz makes file copying a breeze:
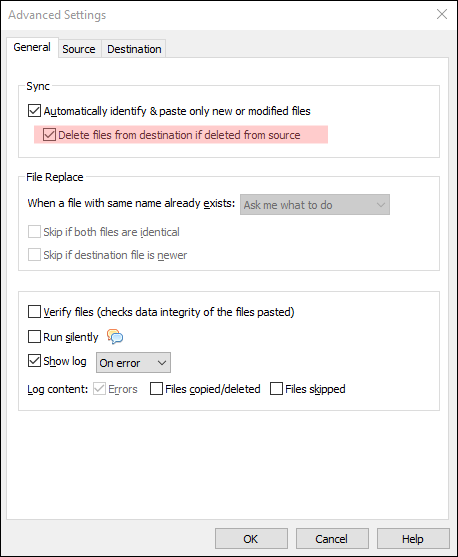
- Copy only new or modified files
- Easily pick files by name, extension, folder etc from bunch of folders
- Automatically organize files based on file attributes and metadata
- Copy files to multiple folders/computers
- Copy files from multiple folders and paste them at once
- Sync files between source and destination
- Pick files from multiple folders and compress in single .zip file
- Schedule file backups
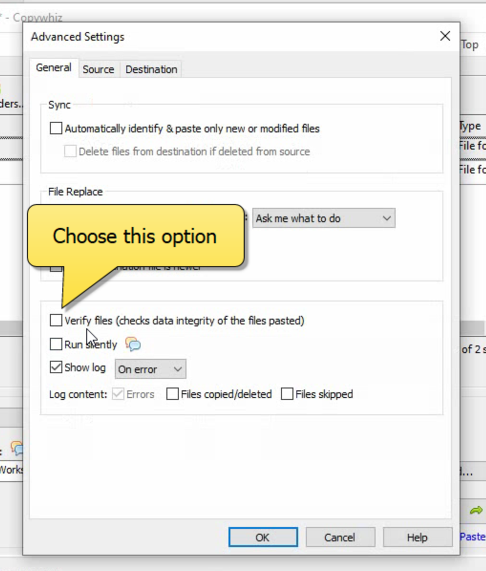
- Verify copied files for data integrity
- Retain security attributes of files & folders (ownership/user access)
- Several more hidden nuggets designed to make your file-copy task easier.
Here is a short video on how to copy files without their folders:
Video Transcription:
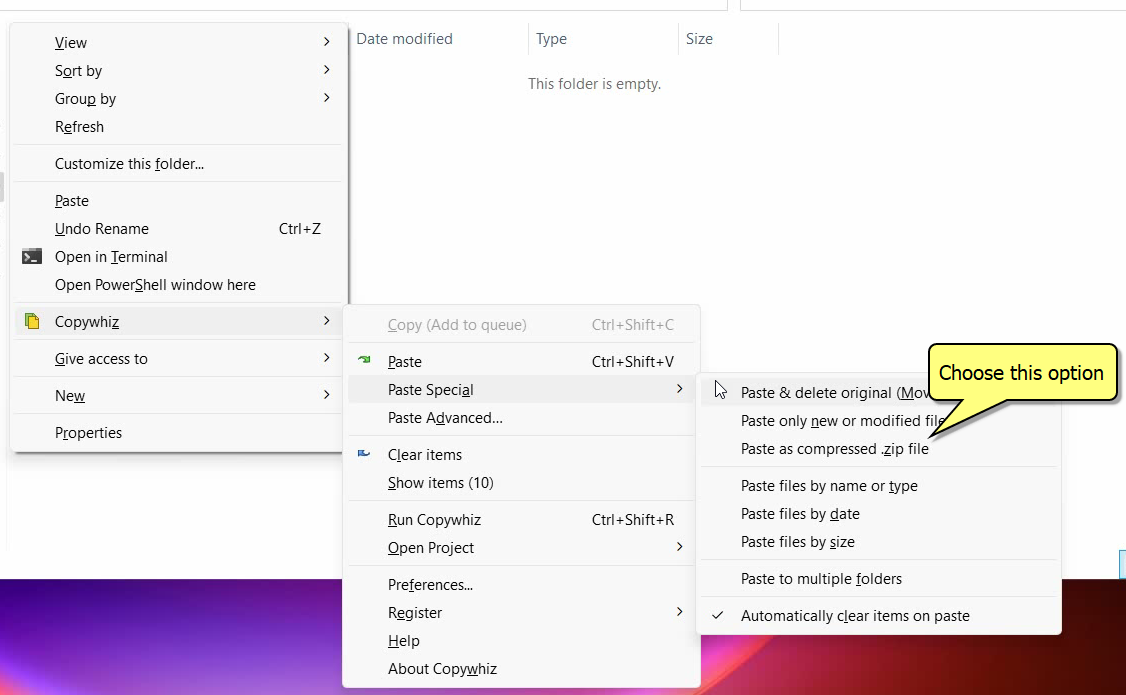
- As shown in the video, select the files, right-click and add it to Copywhiz.
- Go to the destination folder, right-click and choose Copywhiz Paste Advanced.
- Click on Advanced settings and click on paste all files to a single folder button.
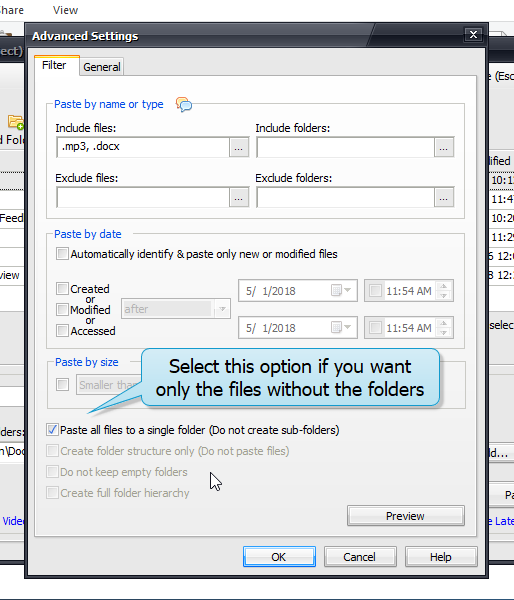
- Click on Ok and paste now.
Using Fastcopy:
Steps to Copy Files Without Their Folders Using FastCopy:
- Download and Install FastCopy from the official website: https://fastcopy.jp/
- Open FastCopy.
- In the Source field, browse to the folder containing the files you want to copy.
- In the Destination field, choose the folder where you want to place the copied files.
- In the Operation Mode, select Diff (No Overwrite) or Copy.
- Ensure that the Filter option is set to
*.*to copy all files. - Uncheck Include Directory to prevent copying the folder structure.
- Click Execute to start copying the files.
Conclusion
Copywhiz comes with a steep learning curve and lacks the flexibility and convenience. Copywhiz stands out with its intuitive interface, advanced filtering options, and unique “Paste without folders” feature. Whether you’re a casual user or a professional, Copywhiz transforms file copying into a hassle-free experience.
Learn more about Copywhiz. Download the free trial from here.
For short tutorial videos, Check out this page.
Subscribe to our YouTube channel for interesting videos.
Check out our other cool products.
Have a good day!