Hey Guys! In this blog post we will see how we can sync files between source and destination folders. Keeping files synchronized is crucial for backup, file organization, and data consistency.
What is Copywhiz?
Copywhiz enhances your file-copy experience by letting you to have more flexibility & control over the file copying and backup process.
Here is how Copywhiz makes file copying a breeze:
- Copy only new or modified files
- Easily pick files by name, extension, folder etc from bunch of folders
- Automatically organize files based on file attributes and metadata
- Copy files to multiple folders/computers
- Copy files from multiple folders and paste them at once
- Sync files between source and destination
- Pick files from multiple folders and compress in single .zip file
- Schedule file backups
- Verify copied files for data integrity
- Retain security attributes of files & folders (ownership/user access)
- Several more hidden nuggets designed to make your file-copy task easier.
Here is a short video for your reference:
Transcription:
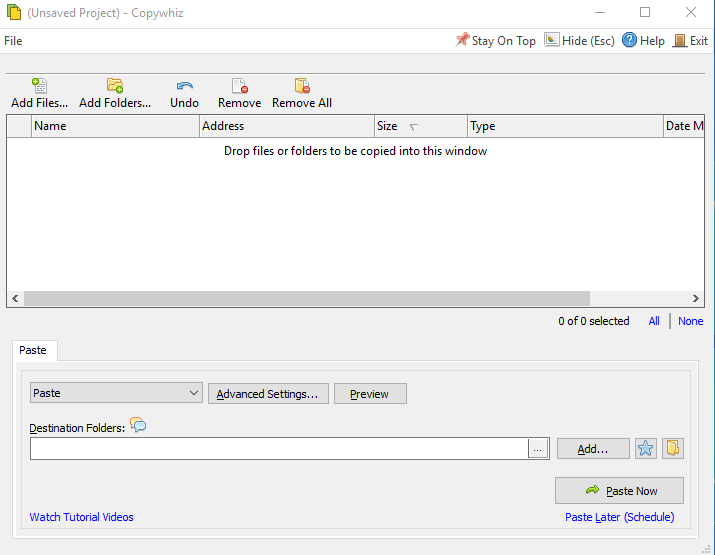
1. After you select your files in Copywhiz, go to the destination folder and Choose ‘Copywhiz -> Paste Advanced’.
2. The Copywhiz main window will open. Choose the Advanced Settings Tab from there.
3. Go to the General Tab and choose the option ‘Automatically identify & paste only new or modified files’. After that, select the option ‘Delete files from destination if deleted from source’.
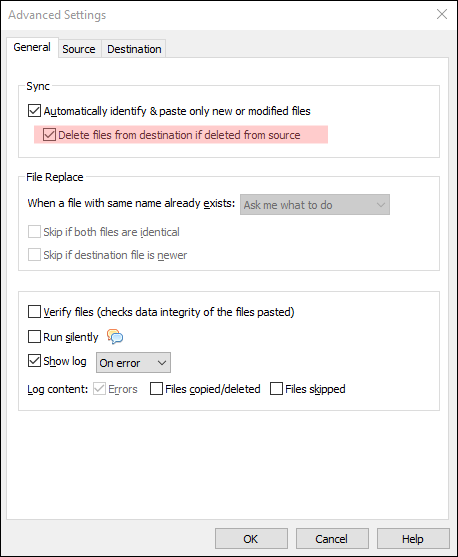
4. Click on OK and proceed with ‘Paste Now’ option. The files will be pasted and the folders will be set to sync.
5. Save the project to run it again in the future.
The next time you make any changes in the source folder, run the saved project file. The folders will sync and the changes will be reflected in the destination folder as well.
We will take a look at how to use Robocopy to sync files between source and destination folder.
Step-by-Step Guide to Using Xcopy
- Open Command Prompt
- Press
Win + R, typecmd, and hitEnter.
- Press
- Use the following Xcopy command:
xcopy "C:\SourceFolder" "D:\DestinationFolder" /D /E /C /Y - Explanation of the switches:
/D– Copies only newer files./E– Copies all subdirectories, including empty ones./C– Continues copying even if errors occur./Y– Suppresses confirmation prompts when overwriting files.
- Run the Command
- Press
Enterand wait for the process to complete. - Files will now be copied only if they are newer than those in the destination folder.
- Press
Conclusion
Copywhiz provides simplicity and convenience for everyday tasks.
Learn more about Copywhiz. Download the free trial from here.
For short tutorial videos, Check out this page.
Subscribe to our YouTube channel for interesting videos.
Check out our other cool products.
Have a good day!
Thanks :)