Writing your first sticky note
Creating a sticky note
Left-click on the Notezilla icon ![]() in the Windows taskbar (next to the clock) and choose 'New note' from the menu to create a new sticky note.
A sticky note appears on your Windows Desktop (see picture below).
in the Windows taskbar (next to the clock) and choose 'New note' from the menu to create a new sticky note.
A sticky note appears on your Windows Desktop (see picture below).
A sticky note is either in edit mode or read mode. When you create a new sticky note, it is in edit mode. You can type anything and press Esc key to go back to the read mode. If you wish you edit the note again, you can press Space bar key or double click inside the sticky note.
If you don't prefer the dual mode and like to directly edit the sticky note without a double click, you can change the setting from the Preferences window.
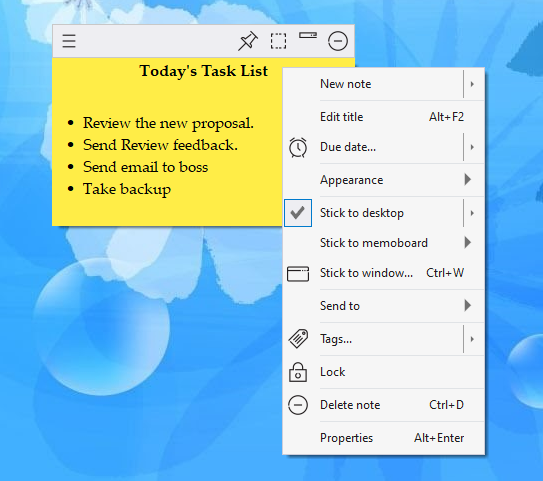
Right-clicking on the Note's title area pops up the Note Menu.
Setting a reminder
To set a reminder, choose 'Due date' from the Note Menu. You can also use the shortcut keys Ctrl+R.
Positioning the sticky note
You can change the position of the sticky note by merely holding the left mouse button on the note's title area and dragging it to a different location on the desktop.
Accessing the sticky note
Other program windows may overlap the sticky note that you created on the desktop. You may need to re-access it for viewing or editing.
To view the note, left-click on the Notezilla icon ![]() and choose
'Bring desktop notes on top' from the menu. You can use the hotkey Ctrl+Shift+T.
This hotkey is configurable from the Preferences window.
and choose
'Bring desktop notes on top' from the menu. You can use the hotkey Ctrl+Shift+T.
This hotkey is configurable from the Preferences window.
You can also show an extra app icon in the taskbar to bring the desktop sticky notes on top. This setting also can be enabled from the Preferences window.